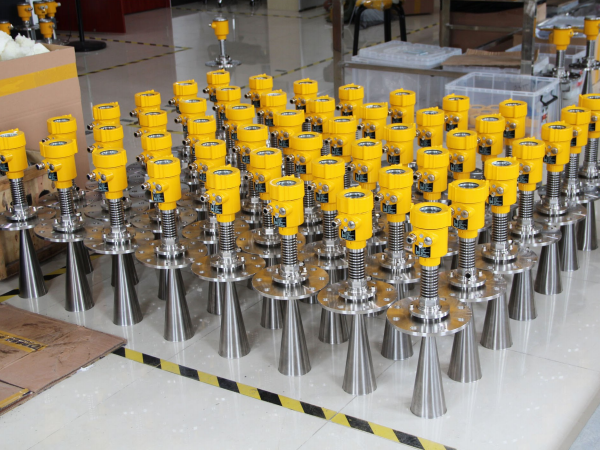
The radar level meter is a non-contact measurement, safe and easy to maintain, and has a long service life. It can measure countless media, and the accuracy of the measurement is also very high, so many industries are using radar level meters to measure. Then for these users who have adopted the radar level meter, the calibration work has also become a major test.
The main points of radar level meter calibration are as follows, using the sense of sight, smell, and touch. Sometimes, damaged components will be discolored, blistered, or have burnt places, burnt parts will produce some special odor, short-circuited chips will become hot, and false soldering or desoldering can also be observed with the naked eye. If you often encounter the phenomenon of good and bad when the instrument is running, this phenomenon is mostly due to poor contact or dummy soldering.
In such cases, tapping and hand pressure can be used. Gently tap the board or component by means of a small rubber cockroach or another tapping object to see if it causes an error or shutdown. When the meter is faulty, after turning off the power, press the plugged-in components, plugs, and sockets hard by hand again, and then turn it on again to try to see if the fault will be eliminated.

If you find that tapping on the housing is normal and tapping again is not normal, reinsert all connectors and retry. You can also find two instruments of the same type or enough spare parts and replace one good spare part with the same part from the faulty machine to see if the fault is eliminated.
You can also observe that one of them is in normal operation. Using this method also requires the necessary equipment, such as a multimeter, oscilloscope, etc.
Depending on the nature of the comparison, there are voltage comparisons, waveform comparisons, static impedance comparisons, output result comparisons, current comparisons, etc.
Let the faulty meter and the normal meter work under the same conditions, then detect the signal at some points, and then compare the measured signals of the two groups.
If there is a difference, you can conclude that the fault is here. This method requires considerable knowledge and skill on the part of the repairer.
In addition, you can also determine the cause of the fault by inserting some plug-in boards and devices into the machine. After removing the plug-in boards or devices, the instrument returns to normal, indicating that the fault occurs at that place.
