Instrument inspection is a critical part of maintenance programs in industries that rely heavily on equipment for production, process control, and safety. Regular inspections ensure that instruments are functioning properly, potential issues are detected early, and the overall efficiency of operations is maintained. This article outlines the essential elements of a detailed instrument inspection procedure to help ensure the reliability and safety of industrial instruments.

1. Inspection Plan
A well-structured inspection plan is essential to guide inspection personnel on what needs to be done, when it should be done, and how often.
Inspection Frequency: Define how often each instrument or set of instruments needs to be checked. The frequency should be based on the criticality of the instrument to the process and its susceptibility to faults. Instruments critical to safety or process control may need daily or weekly checks, while less critical devices might only require monthly or quarterly inspections.
Inspection Time: Set specific times for inspections to avoid disrupting operations. Inspections should be scheduled during low production periods or during planned maintenance windows. This minimizes interference with operational processes and ensures safety.
2. Inspection Items
The actual tasks performed during an inspection are the core of the procedure. These tasks ensure that every component of the instrument is functioning correctly and safely. Here are the key items to include:
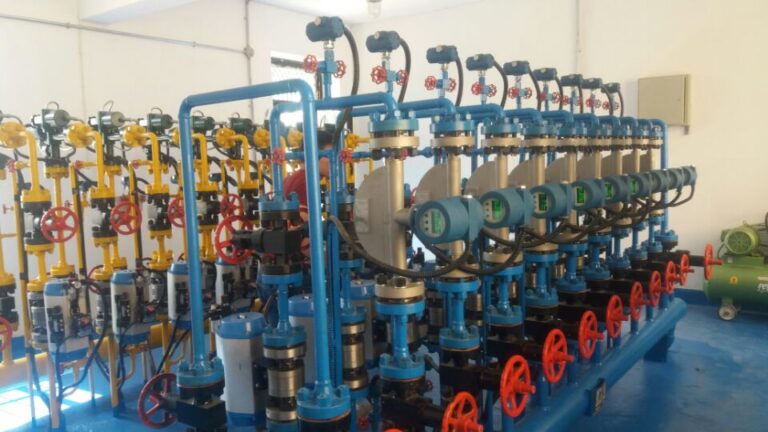
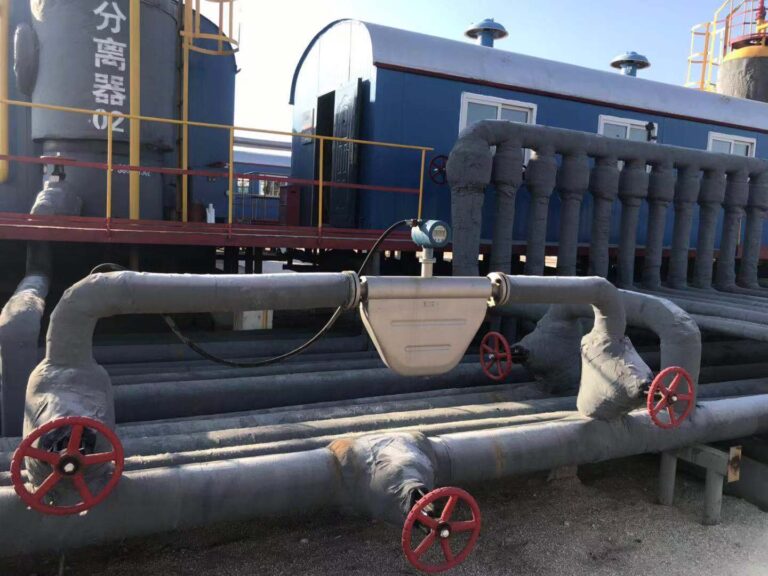
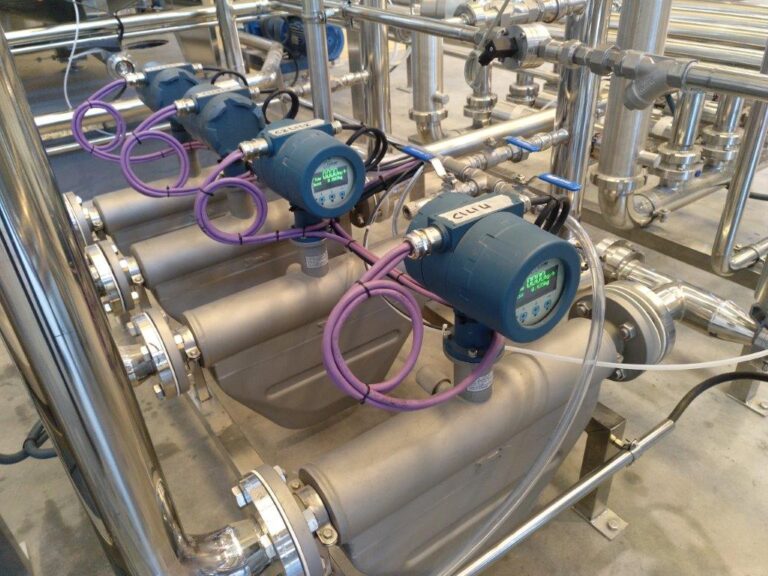
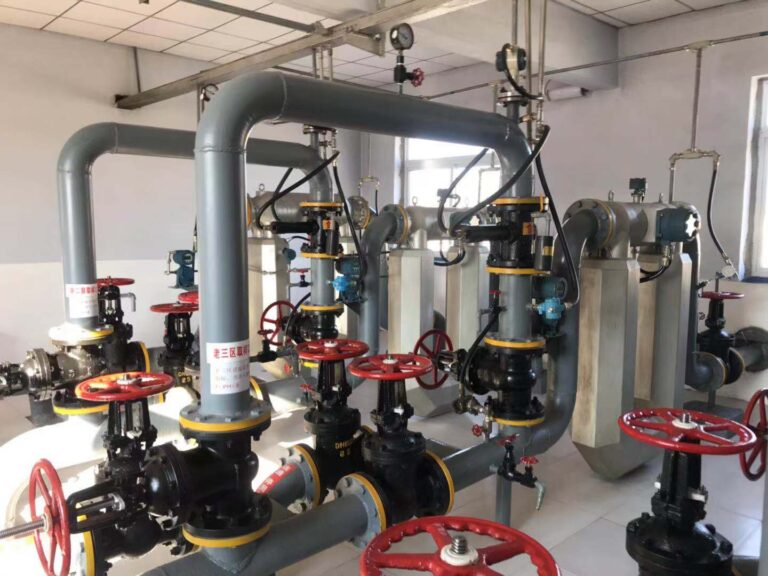
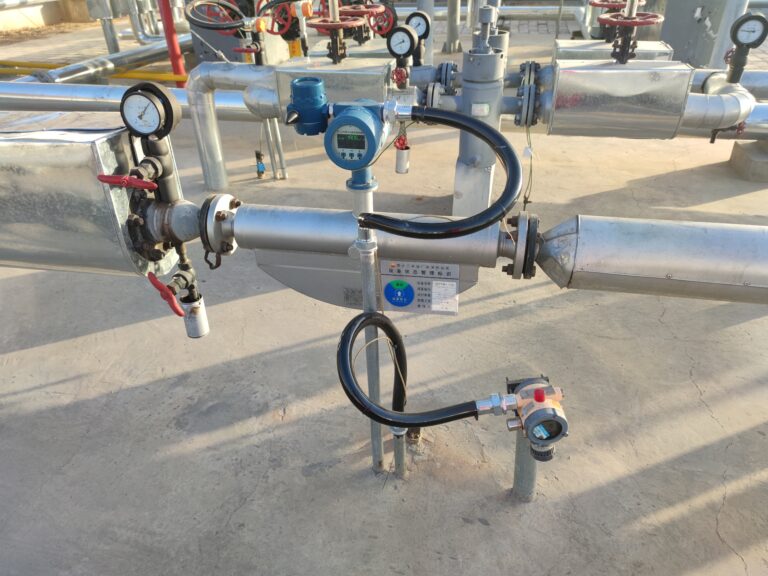
Visual Inspection: Begin by checking the overall physical condition of the instrument. Look for signs of damage such as cracks in the casing, loose or corroded fittings, and unusual accumulation of dirt or moisture. A visual check can reveal obvious issues before deeper analysis.
Installation Check: Ensure that the instrument is securely mounted. Over time, vibration, temperature changes, and operational stress can cause instruments to loosen, leading to poor performance or failure. Verify that all mounting hardware is intact and secure.
Wiring and Electrical Connections: Inspect all electrical connections for signs of wear, looseness, or corrosion. Faulty wiring is a common cause of instrument failure and can result in incorrect signals being sent to control systems. Look for frayed wires, loose connectors, and signs of overheating at connection points.
Display and Output Signal Check: Review the instrument’s display to ensure it is functioning correctly. Compare the displayed readings with known reference points or manually measured values. If the instrument is outputting signals to a control system, verify that these signals are accurate and reflect actual conditions.
Range and Calibration: Ensure the instrument is operating within its designated range and calibration. For example, pressure gauges and flow meters have specific ranges they should not exceed. Regular calibration checks ensure that instruments are measuring accurately and within acceptable limits.
Power Supply and Indicators: Verify that the instrument is receiving a stable power supply. Check any indicator lights to confirm they are functioning correctly and showing the correct status (e.g., power on, alarm, normal operation). A malfunctioning indicator could result in unnoticed faults.
Environmental Factors: Assess the surrounding conditions where the instrument is located. Instruments can be affected by environmental factors such as extreme temperatures, humidity, dust, and corrosive gases. Identifying potential hazards allows for preventive action, such as installing protective enclosures or relocating the instrument.
3. Inspection Records
Documenting inspections is essential for tracking the history of each instrument and making informed maintenance decisions. A proper inspection record should include:
Instrument Identification: Include the name, model, and unique identification number of the instrument.
Inspection Date: Record the date and time of the inspection, as well as the name of the person performing the inspection.
Observations and Issues: Detail any issues identified during the inspection, including malfunctioning parts, deviations from normal operation, and environmental concerns.
Actions Taken: Note any corrective actions taken during the inspection, such as adjustments, repairs, or recommendations for further analysis by the maintenance team.
Next Steps: If additional maintenance or repair is required, outline the next steps, including whether a follow-up inspection or deeper diagnosis is necessary.
Inspection records can be maintained in physical logbooks or digital systems, depending on the size and complexity of the facility.
4. Common Faults and Troubleshooting
Knowing the common faults that occur with different types of instruments can help guide inspection teams in quickly identifying and addressing issues. Here are some typical faults and suggested troubleshooting steps:
Signal Distortion or Loss: If an instrument is providing inconsistent or no signals, check for loose connections, damaged cables, or electrical interference. Reconnecting wires or replacing faulty components can often resolve the issue.
Abnormal Readings: If the instrument’s readings do not align with actual conditions, consider recalibrating the device or checking if environmental factors like temperature or pressure are affecting its performance.
Unresponsive Display or Lights: When the display or indicator lights fail, inspect the power supply. This could be due to a power failure, faulty wiring, or damage to internal components.
Mechanical Wear and Tear: Instruments with moving parts may experience mechanical issues over time. Regularly lubricate or replace worn parts as part of the troubleshooting process.
5. Safety Precautions
Inspection tasks must always prioritize the safety of personnel. Instruments often operate in hazardous environments, so proper safety measures are vital:
Personal Protective Equipment (PPE): Ensure that all personnel wear appropriate PPE, such as safety glasses, gloves, and hard hats. In cases of high-voltage instruments, electrical safety gear may also be necessary.
Electrical Safety: Instruments operating under high voltage or in electrically sensitive environments should be handled with extreme care. Always de-energize circuits when inspecting electrical connections.
Access to High Areas: When instruments are installed at height, ensure safe access using ladders or lifts, and use fall protection equipment as needed.
Lockout/Tagout (LOTO): For instruments connected to active machinery, follow LOTO procedures to prevent accidental activation during inspection.
Conclusion
A detailed and systematic approach to instrument inspection ensures that equipment remains operational and reliable, minimizing the risk of failure and downtime. By following the outlined procedures—creating a structured inspection plan, focusing on critical inspection items, maintaining thorough inspection records, and ensuring safety—companies can prevent costly malfunctions and enhance operational efficiency.
Incorporating these practices into regular maintenance routines not only extends the lifespan of instruments but also improves safety for personnel and optimizes overall production processes.