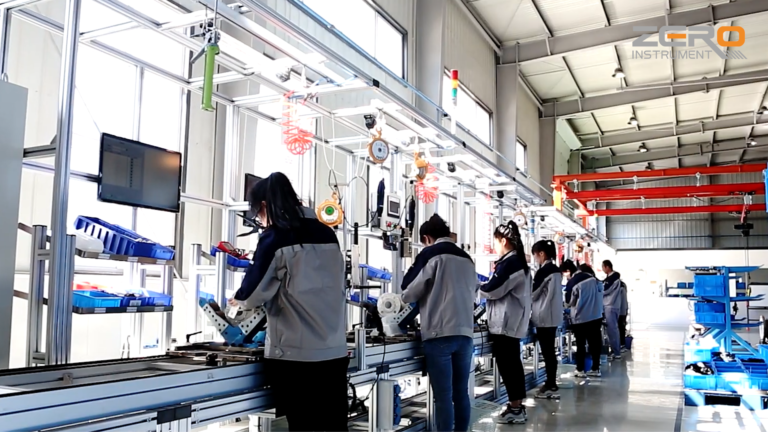
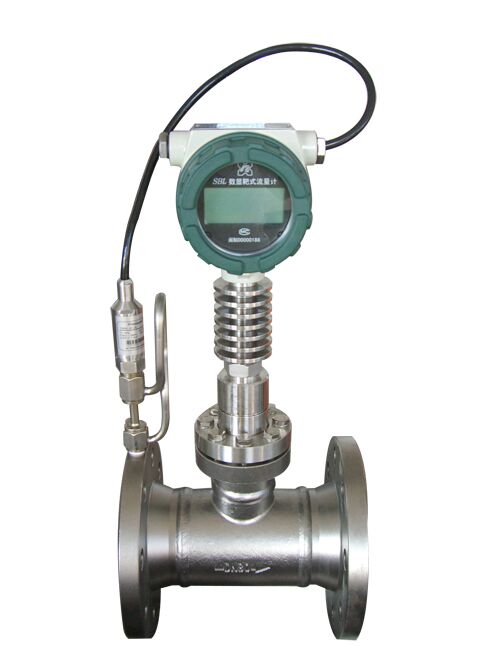
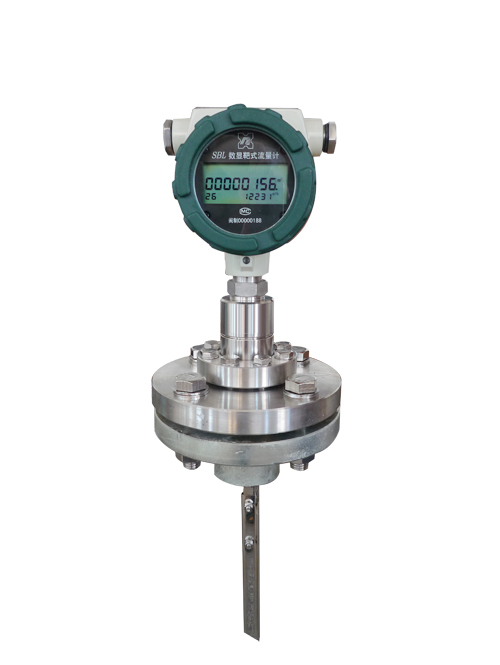
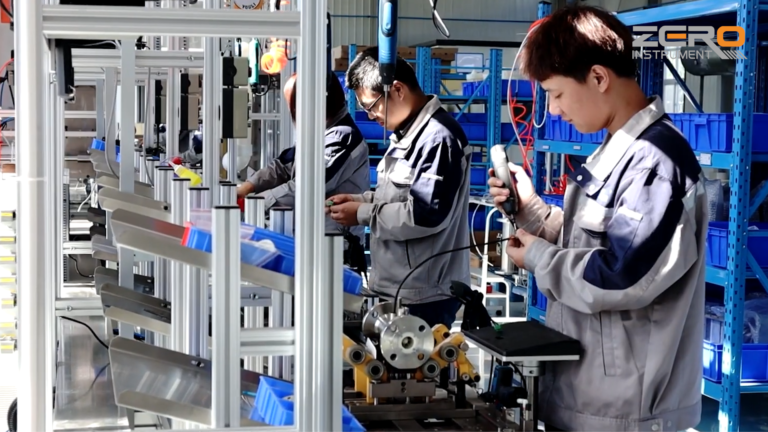
Target flow meters are widely used to measure the flow of liquids, gases, or steam. Below are the common faults encountered in practice, their possible causes, and recommended maintenance solutions.
1. No Flow Display
Possible Causes:
Power Failure
Issues such as circuit breaks, short circuits, or power module damage can result in the flow meter failing to operate. For example, accidental cable damage during external construction may cut off the power supply.Sensor Damage
Continuous exposure to fluid impact and corrosion can lead to deformation or breakage of the paddle. The internal sensing element may also be damaged, failing to generate a valid signal. In highly corrosive environments, the paddle may gradually thin and eventually break.Signal Transmission Failure
Damaged signal cables or loose connectors can interrupt signal transmission to the display unit. This is common in environments with heavy vibration, which may loosen cable connections.
Maintenance Methods:
Check the Power Supply
Use a multimeter to verify the input voltage. Inspect the wiring for damage or short circuits. If the power module is faulty, replace it with one of the same model.Inspect the Sensor
Disassemble the meter and examine the paddle for deformation or breakage; replace it if needed. Use specialized equipment to test the performance of internal components and replace them if damaged.Check Signal Transmission Lines
Inspect the cable for external damage. Re-secure loose connectors or replace the cable if necessary.
2. Inaccurate Flow Display
Possible Causes:
Changes in Fluid Properties
If the actual fluid density, viscosity, or other properties differ from those during meter selection, measurement accuracy may be affected. For example, process adjustments may introduce impurities, increasing the viscosity.Improper Installation
Insufficient straight pipe length upstream/downstream can cause turbulent flow and inaccurate readings. Non-horizontal installation may result in uneven force on the paddle.Zero Drift
Over time, environmental factors such as temperature and pressure may cause zero-point offset.
Maintenance Methods:
Reevaluate Fluid Properties
Measure the actual fluid parameters (density, viscosity, etc.) and adjust the meter settings or selection accordingly.Check Installation Position
Ensure the straight pipe section is adequate: typically, 5–10 pipe diameters upstream and 3–5 downstream. Confirm the flow meter is installed horizontally.Recalibrate Zero Point
Follow the user manual to calibrate zero flow conditions when no fluid is moving to eliminate drift effects.
3. Excessive Vibration of the Flow Meter
Possible Causes:
Excessive Flow Velocity
Flow rates exceeding the design limits may cause intense fluid impact on the paddle, resulting in vibration.Pipeline Vibration Transmission
Nearby equipment like pumps or compressors may generate vibrations that propagate through the piping system to the meter.Loose Mounting
Improperly tightened bolts or poorly designed supports can lead to vibration during operation.
Maintenance Methods:
Adjust Flow Rate
Use control valves to keep the flow within the meter’s optimal operating range.Isolate Pipeline Vibration
Install flexible joints or vibration dampers at connection points to reduce transmitted vibrations.Secure the Meter
Tighten all mounting bolts and reinforce or redesign supports to enhance structural stability.
4. Leakage at Sealing Points
Possible Causes:
Aging Seals
Over time, gaskets and seals may age, deform, or lose elasticity, leading to leakage.Pressure Fluctuations
Frequent or severe pipeline pressure changes can impact sealing surfaces and cause failures.Improper Installation
Misalignment, incorrect placement, or damage during installation may compromise the seal.
Maintenance Methods:
Replace Sealing Components
Remove and replace aged or damaged seals with new ones of the correct specifications. Ensure proper alignment and orientation during installation.Stabilize System Pressure
Inspect the pipeline’s pressure regulation system. Consider installing pressure stabilizers if necessary.Repair Sealing Surface
Minor surface damage can be repaired by polishing. For severe damage, replace the affected parts. Always clean sealing surfaces before reassembly to avoid foreign material interference.