1. No Display / Instrument Not Starting
Possible Causes:
Power interruption (power module failure, disconnected wiring)
Internal fuse blown
Mainboard failure
Maintenance Steps:
Use a multimeter to check the power lines, repair any disconnections, or replace the faulty power module.
Open the instrument and inspect the fuse (usually near the power connection); replace it with a fuse of the same specification.
If the fuse is intact, measure the power supply pins on the mainboard. If no voltage is present, replace the mainboard.
2. Display Shows “Signal Lost” / No Measurement Value
Possible Causes:
Antenna scaling or damage (radar waves unable to transmit)
Volatile substances on the antenna (forming a shield)
Improper blind spot setting (liquid level entering the blind spot)
Maintenance Steps:
Power off the instrument, remove the antenna, and clean the surface with a soft cloth (use alcohol or neutral cleaner). Avoid using hard objects.
If the antenna is deformed or cracked, replace it with the same model (ensure flange specifications match).
Enter the parameter menu and adjust the “blind spot” (usually needs to be set 5-10cm lower than the actual minimum liquid level).
3. Measurement Value Fluctuates / Large Differences
Possible Causes:
External electromagnetic interference (e.g., frequency converters, motors)
Agitators or eddies inside the tank causing liquid surface fluctuations
Poor grounding of the instrument
Maintenance Steps:
Check whether signal cables are running parallel to power cables (e.g., 380V cables). If they are, rewire them with a minimum distance of 30cm, or use shielding on the signal cables.
Enter the parameter menu and enable the “damping function” to increase damping time and filter fluctuating data.
Ensure the instrument’s housing grounding terminal is properly grounded (ground resistance ≤ 4Ω). It should be grounded separately, not shared with other equipment.
4. Display Shows “Full Scale” But Actual Liquid Level is Low
Possible Causes:
Range parameter set too small
Antenna fully covered by medium (e.g., viscous substances)
Mainboard signal processing module failure
Maintenance Steps:
Verify the actual tank height and reset the “range” parameter (Range = tank height – blind spot).
Clean the antenna surface to remove adhering medium. If the medium is difficult to remove, consider replacing the antenna with a “non-stick coated” model.
If parameters are correct, replace the mainboard and recalibrate.
5. Communication Failure (No Data to Host Computer)
Possible Causes:
Incorrect wiring of communication cables (RS485 A/B wires reversed)
Mismatch in communication address or baud rate
Communication module failure
Maintenance Steps:
Check the wiring of RS485 A (positive) and B (negative) wires against the host computer and reconnect them as needed.
Access the instrument parameters and set the “communication address” (1-247) and “baud rate” (e.g., 9600bps) to match the host computer.
If communication is still not established, use the hand-held unit to test. If it still fails, replace the communication module on the mainboard (or replace the mainboard entirely).
Maintenance Considerations:
Power off before maintenance: Always disconnect the power before performing any maintenance (e.g., removing the antenna, unscrewing, replacing the mainboard). Avoid working on live equipment to prevent short circuits or electric shocks.
Ensure part compatibility:
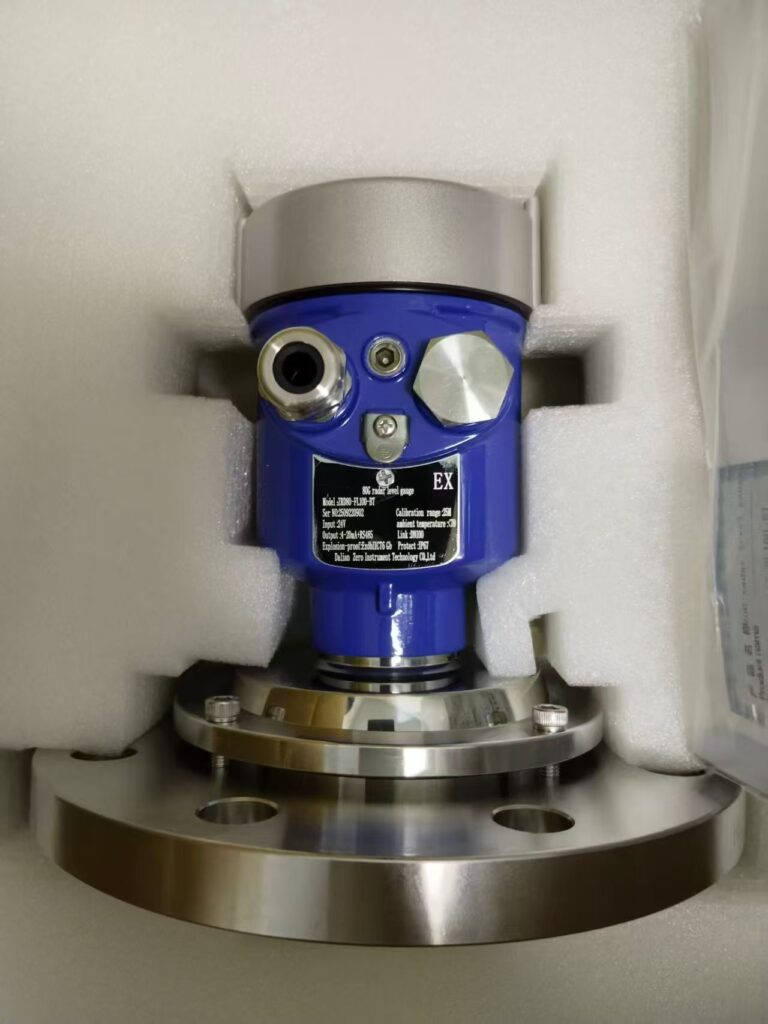
Antenna: Make sure it matches the instrument’s frequency (e.g., 26GHz/80GHz radar), flange size (e.g., DN50/DN80), and material (e.g., 316L stainless steel for corrosive media).
Mainboard / Power module: Must be identical to the instrument’s brand and model (e.g., Siemens LR260, E+H FMR57). After replacement, recalibrate the instrument.
Calibration is essential: After maintenance (especially antenna or mainboard replacement), perform either an “empty tank calibration” or “full tank calibration”:
Empty Tank Calibration: Ensure the tank is empty, go to the calibration menu, and perform the “empty tank learning” to let the instrument memorize the empty tank signal.
Full Tank Calibration: Measure the actual liquid level using a tape measure, input the “actual level value” into the instrument, and perform a “full tank / point calibration.” Ensure that the measurement error is within the acceptable range of ≤ 0.5% FS.
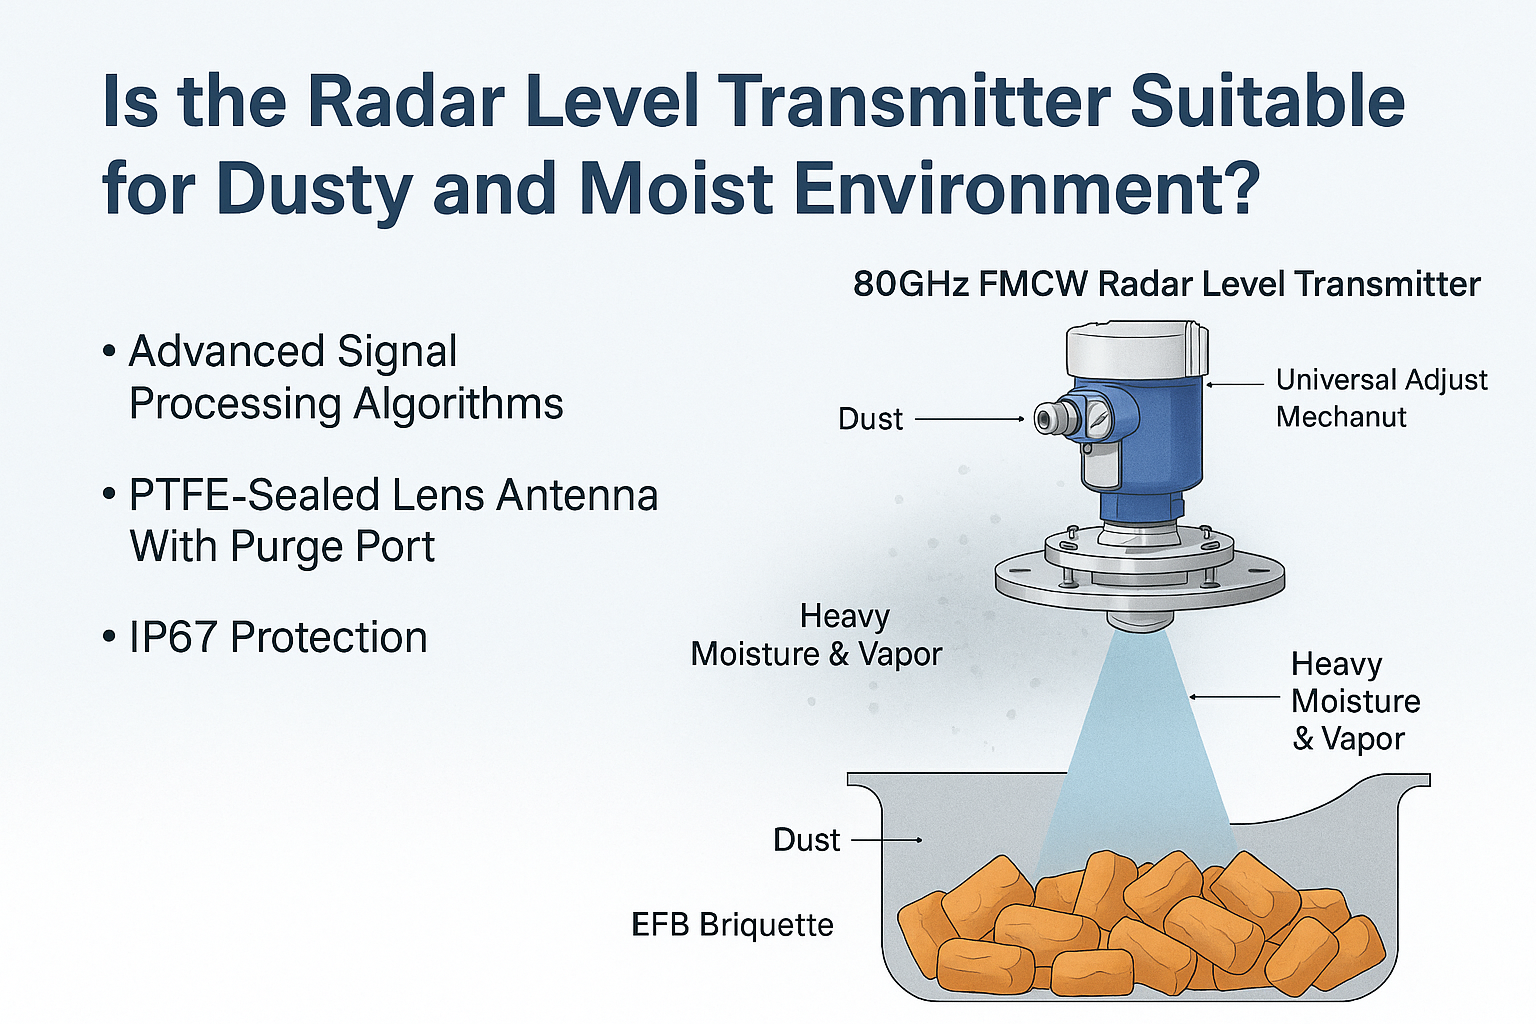
Extra Protection for Special Environments:
Dusty / Wet Environments: After maintenance, check the instrument’s seals (e.g., O-rings) for aging. Replace them if necessary to prevent dust or moisture ingress.
High-Temperature Environments (>80°C): Ensure the antenna is a “high-temperature model” (e.g., with cooling jackets). After maintenance, check and secure the cooling system if applicable.
Record and Verify: After completing maintenance, record the “fault symptoms, maintenance steps, and replaced parts” and observe the instrument for 24 hours:
Ensure the display data is stable and compare it with manually measured values (e.g., tape measure, float level gauge). The deviation should be within the allowable range.
Test the communication and alarm functions to ensure they work correctly (e.g., when the level exceeds the set point, the instrument should trigger an alarm).