1. Pre-installation Preparations
1.1 Site Conditions
The installation area must be dry, well-ventilated, and free from excessive dust, corrosive gases, or electromagnetic interference (e.g., from variable frequency drives or large motors).
Temperature should range from 0°C to 40°C, and humidity should be between 5% and 95%, with no condensation.
Ensure that the floor can support the weight of the UPS. For larger units, a reinforced foundation may be required.
Allow for at least 30 cm of space around the UPS for proper ventilation (left, right, and rear), and at least 50 cm of space above the unit.
1.2 Equipment and Material Checklist
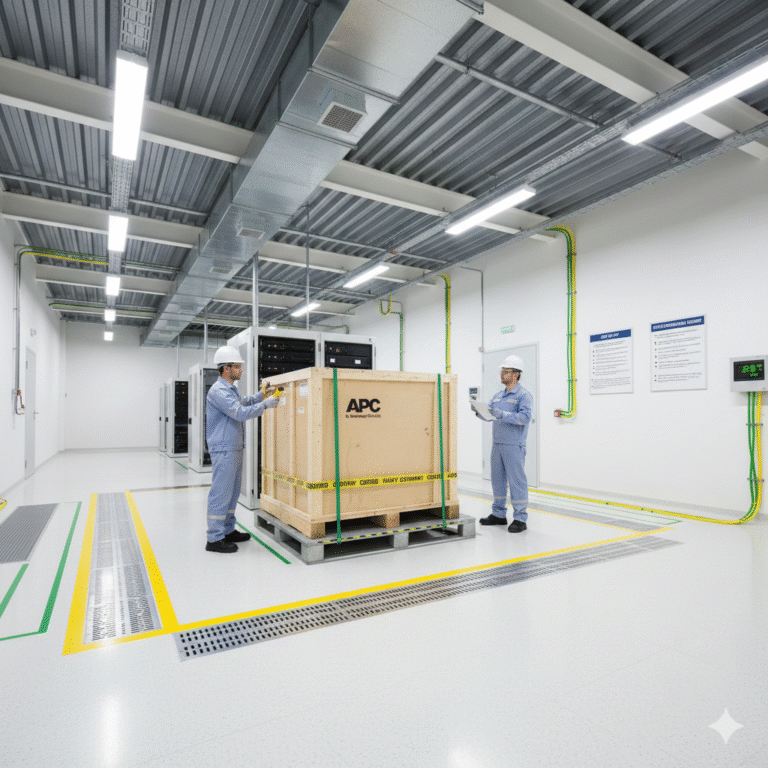
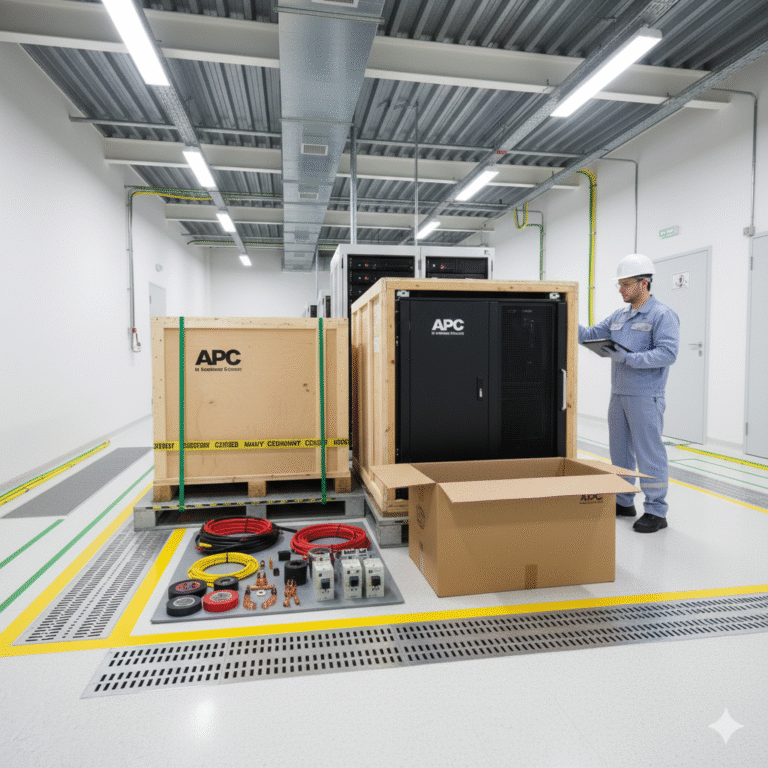
Verify that the UPS main unit, battery pack, cables, user manual, and certificates are complete and undamaged upon unboxing.
Prepare the following materials: copper bars/cables (specifications matching UPS rated current, copper wire recommended), wire terminals, insulating tape, screws, circuit breakers (rated 1.2-1.5 times the UPS rated current), grounding rods, battery connection cables.
1.3 Tools and Safety Equipment
Tools: Multimeter, screwdrivers, wrenches, wire crimping tool, insulated gloves, insulated shoes.
Safety: Set up warning signs in the installation area, and disconnect the main power supply to avoid electric shock.
2. Battery Pack Installation (For Backup/Online UPS)
2.1 Confirm Battery Configuration
Follow the UPS manual to confirm whether the batteries should be connected in series or parallel. For example, for a 36V system, connect 3 x 12V batteries in series, or for 72V, use 6 x 12V batteries.
2.2 Positioning and Wiring
Position the batteries neatly and secure them within the battery cabinet, ensuring no tilting or movement. Ensure that the battery terminals are clearly marked, and maintain a spacing of at least 2 cm between adjacent batteries.
Connect the battery packs using dedicated battery cables. First connect the series/parallel wiring, then connect the positive and negative terminals of the battery pack to the UPS. Use a torque wrench to secure the terminals, and apply anti-oxidant grease if necessary.
2.3 Voltage and Polarity Check
Use a multimeter to verify the total voltage of the battery pack. Confirm that the polarity is correct, the voltage is within the specified range, and there are no short circuits.
3. UPS Main Unit Positioning and Mounting
3.1 Positioning the UPS
Move the UPS unit to the installation location. Small UPS units can be placed directly on a stable surface, while larger units should be handled with a forklift. Ensure the UPS is not tilted more than 15° during transportation.
3.2 Mounting
Secure the UPS to the floor or frame using expansion screws to prevent movement during operation. Ensure the UPS’s front panel faces an easily accessible position for operation and monitoring.

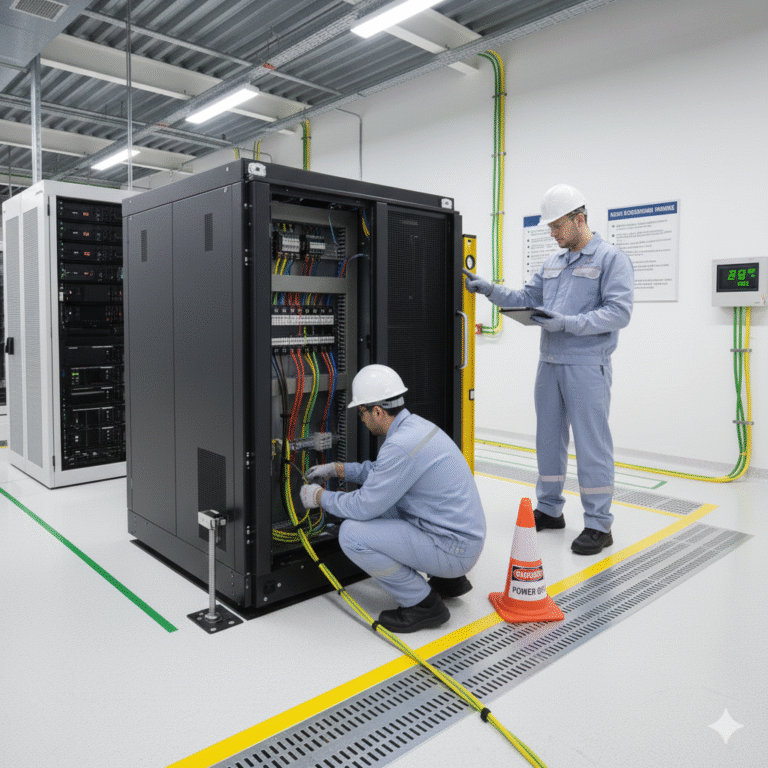
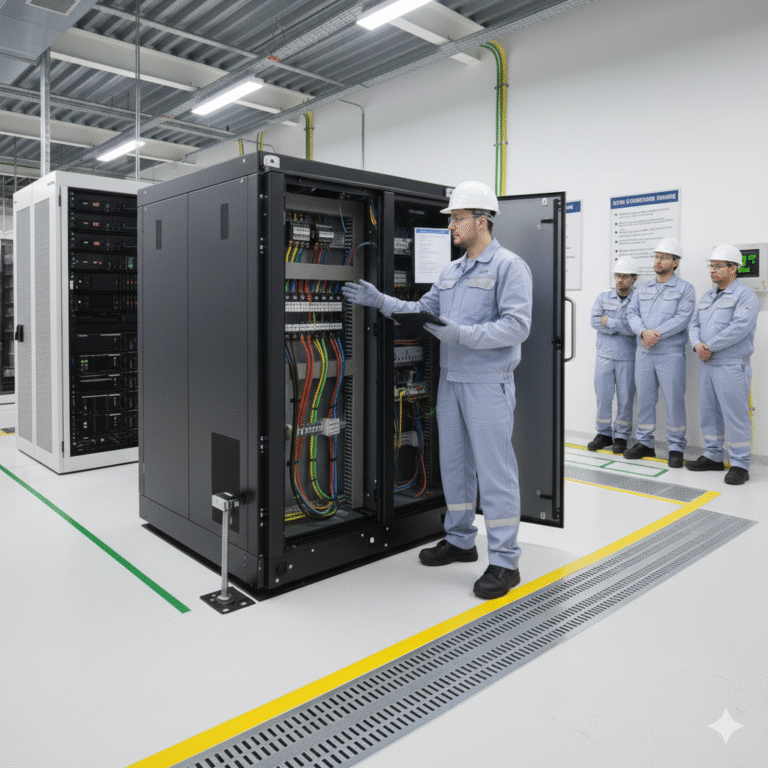
4. Electrical Connections (Core Step: Always ensure power is off)
4.1 Grounding Connection
First, connect the UPS to a reliable earth ground (PE). Ground resistance should be ≤4Ω. Use yellow-green wire for grounding, with a wire gauge at least half the size of the UPS input cable.
Ensure the grounding system is properly connected to the building’s main earth network. Never mix ground connections with neutral (N) wires.
4.2 AC Input Connection
Disconnect the AC input circuit breaker. Connect the AC power cables to the UPS input terminals: L (live), N (neutral), and PE (earth). For three-phase UPS systems, ensure correct phase sequence (L1, L2, L3) to avoid reverse connections.
Use properly crimped cable terminals, ensuring insulation stripping is not too long to avoid exposing too much copper. Secure the connections and cover with insulating tape.
4.3 AC Output Connection
Connect the load cables to the UPS output terminals (L, N, PE). Confirm that the total load power does not exceed 80% of the UPS rated output to allow for sufficient headroom.
For sensitive equipment (e.g., instruments, industrial PCs), install surge protectors on the output side. Avoid connecting inductive loads (e.g., motors, air conditioners) directly to small UPS systems.
4.4 Battery Pack Connection
Connect the battery pack’s positive and negative terminals to the UPS battery terminals, ensuring correct polarity. Never reverse the connections, as this could damage the UPS.
After connection, use a multimeter to verify the voltage and polarity once again.
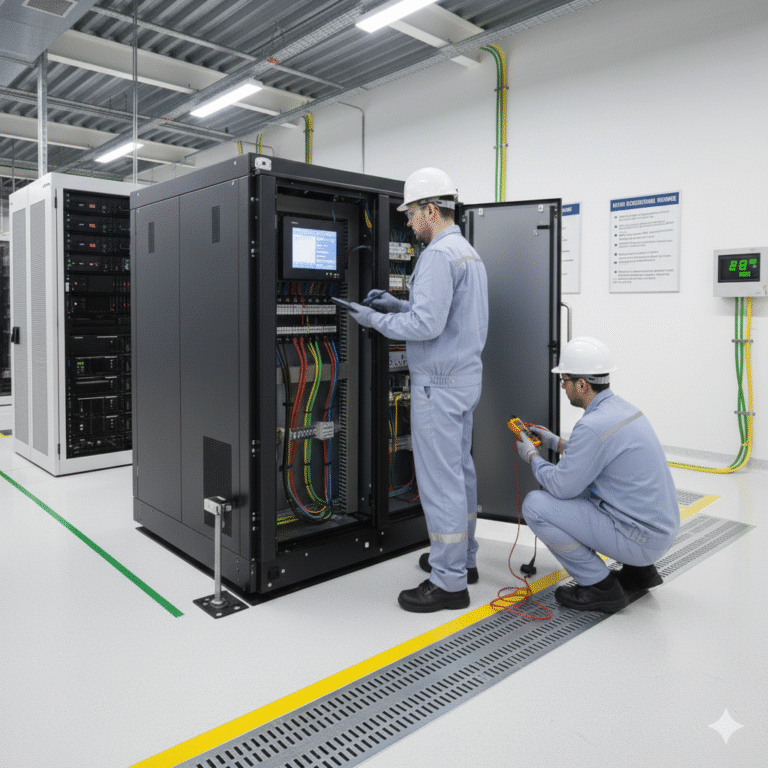
5. Post-installation Checks and Testing
5.1 Circuit Review
Double-check all input, output, battery, and grounding connections to ensure there are no loose, short-circuited, or reversed connections.
Use a multimeter to measure the AC input voltage to ensure it’s within the acceptable range (single-phase 220V ±10%, three-phase 380V ±10%).
5.2 Initial Startup
Close the battery circuit breaker, then the AC input circuit breaker, and press the UPS power button.
Check the UPS panel indicators: The “AC” mode should display a green light, and the “Battery” mode should display a red light.
5.3 System Monitoring
Check the LCD display for input voltage, output voltage, battery voltage, and load percentage to ensure all parameters are within normal ranges.
5.4 Switching Test
Disconnect the AC input. The UPS should seamlessly switch to battery power without interruption, and the load should continue operating. Reconnect the AC supply, and the UPS should automatically switch back to AC mode and start recharging the battery.
5.5 Load Testing
First, connect 50% of the rated load and run the system for 30 minutes, checking for any unusual temperature rise or noise.
Gradually increase the load to 80% and run for 1-2 hours, ensuring no alarms or malfunctions occur.
6. Finalizing the Installation
6.1 Cable Management
Neatly arrange the cables and secure them using cable trays or zip ties. Label each cable (input, output, battery cables) for easy future maintenance.
6.2 Documentation
Fill in the installation record, including the UPS serial number, installation date, and test parameters. Store the user manual and certificates for future reference.
6.3 Training
Provide operational training to the end user. Cover start/stop procedures, the meaning of alarm indicators, and daily maintenance checks.
7. Key Considerations
Never connect a generator to the UPS output without disconnecting the AC input to avoid conflicts between the grid and the generator.
When installing the battery pack, avoid sparks or fire hazards. Ensure that old batteries are disposed of according to environmental regulations.
For large UPS systems, installation should only be performed by certified electricians or technicians to ensure safety and compliance with all regulations.