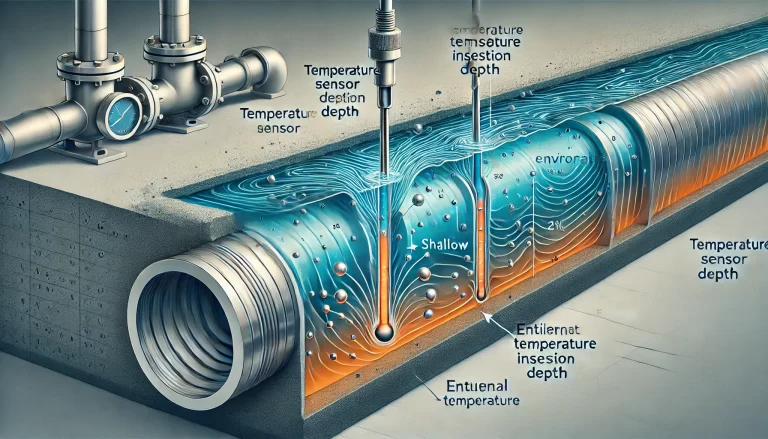
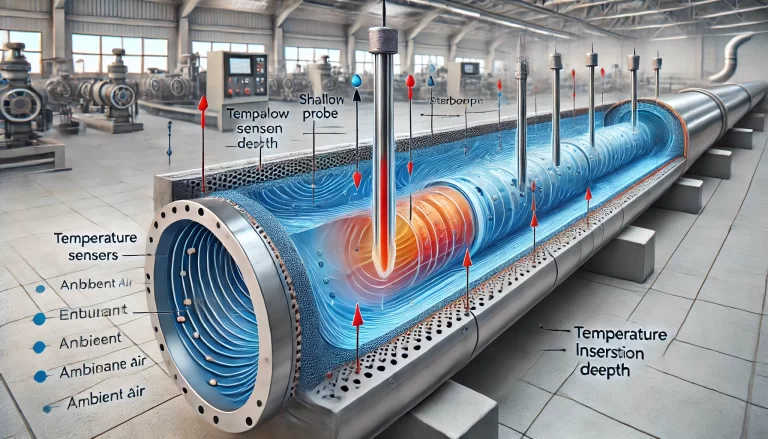
In industrial applications, temperature measurement is commonly carried out using thermometers or temperature sensors that are inserted into pipes, tanks, or other equipment. The insertion depth of these temperature sensors has a significant impact on the accuracy of the measurement. While the general guideline is to calculate the insertion depth based on the centerline of the pipe, this approach may not be appropriate in all situations. Specifically, in large-diameter pipes, towers, furnaces, and other specialized equipment, relying solely on the centerline calculation can be ineffective, leading to issues such as unnecessary expenses and difficulties in installation.

Fluid Flow in Pipes and Its Influence on Temperature Measurement
Fluid flow in a pipe is dynamic, characterized by different flow patterns based on the flow velocity. These patterns include laminar flow, transitional flow, and turbulent flow, which have different effects on temperature measurement.
Laminar Flow: At low flow velocities, fluid layers flow parallel to each other without significant mixing. The fluid at the pipe’s centerline flows faster than the fluid near the pipe wall, and temperature changes are more readily detected at the center of the pipe.
Transitional Flow: As the flow velocity increases, the fluid begins to oscillate, and the flow pattern transitions from laminar to turbulent. This state, known as transitional flow, is characterized by unstable fluid motion and varying flow velocities.
Turbulent Flow: When the flow velocity reaches a critical threshold, the fluid becomes fully turbulent. In this state, the fluid particles undergo irregular motion, with numerous small vortices forming throughout the flow. Turbulent flow promotes better mixing, and the temperature is more evenly distributed across the cross-section of the pipe. In this case, the insertion depth of the temperature sensor may only need to penetrate a thin boundary layer near the pipe wall to accurately measure the temperature.

Impact on Temperature Sensor Insertion Depth
In laminar flow conditions, temperature changes are initially detected at the center of the pipe and only gradually propagate toward the pipe wall. Therefore, the temperature measurement will be delayed as it moves outward from the center. For accurate measurements, the sensor must be inserted to a depth that ensures it is exposed to the fully mixed fluid.
However, for large-diameter pipes, installing a temperature sensor based solely on the centerline calculation may result in the sensor being too long, leading to increased costs and potential damage to the sensor. To avoid this, alternative insertion depth calculations should be considered. This is particularly important for large pipelines or equipment such as towers or furnace chambers, where the traditional method may not be practical or efficient.
Recommended Insertion Depths for Different Applications
To ensure accurate temperature measurement, it is important to ensure that the sensor’s sensitive section is fully immersed in the medium being measured. The required insertion depth for various applications is as follows:
For Gas Measurements:
- Thermocouples should have an insertion depth greater than 95mm.
- Resistance thermometers and bimetallic thermometers should have an insertion depth greater than 120mm.
For Liquid Measurements:
- Thermocouples, resistance thermometers, and bimetallic thermometers should all have an insertion depth greater than 50mm.
General Insertion Depth:
- The total insertion depth of the temperature sensor includes the following components:
- Sensor head length.
- Pipe wall thickness.
- Insertion length as specified above.
- The total insertion depth of the temperature sensor includes the following components:
For Small Diameter Pipes (less than 80mm):
- An expansion pipe may be required for sensor installation.
For Tower Equipment:
- In general, a sensor inserted horizontally into tower equipment should have a depth of 300–400mm.
For Furnace Chambers:
- In furnace temperature measurements, the sensor is typically installed horizontally, and the thermocouple should be inserted at least 200mm inside the furnace, accounting for the thickness of the furnace’s refractory lining.

2. Why Pressure Instruments Use the Pascal (Pa) as the Unit of Measurement
According to the International System of Units (SI), both force and pressure are distinct physical quantities. Force is measured in newtons (N), which is defined as the amount of force required to accelerate a 1kg mass by 1m/s². The unit of pressure (or stress) is the pascal (Pa), defined as one newton per square meter (N/m²).
The pascal is the dedicated unit for pressure in the SI system and is named after Blaise Pascal, a French mathematician and physicist who made significant contributions to fluid mechanics and hydrostatics.
Pressure vs. Stress: The Terminology Difference
In engineering applications, the term “pressure” is commonly used, while in physics, the term “stress” is often employed to describe the distribution of force over a surface area. Despite these different terminologies, both refer to the same physical quantity: the force per unit area.
For example, when measuring the pressure inside a pipe, the instrument is measuring the force exerted by the fluid (typically gas or liquid) on the walls of the pipe, distributed across the cross-sectional area of the pipe. The pressure unit of pascal (Pa) is most appropriate because it accurately reflects this force distribution in terms of force per unit area.

Why Use Pa for Pressure Instruments?
Pressure instruments are calibrated to measure the pressure exerted by fluids, whether gas, liquid, or vapor. Since pressure is defined as force per unit area, using the pascal as the unit of measurement ensures consistency with the broader SI system. The unit of pascal also aligns with standardized engineering practices and international measurement systems, making it universally applicable and understood.
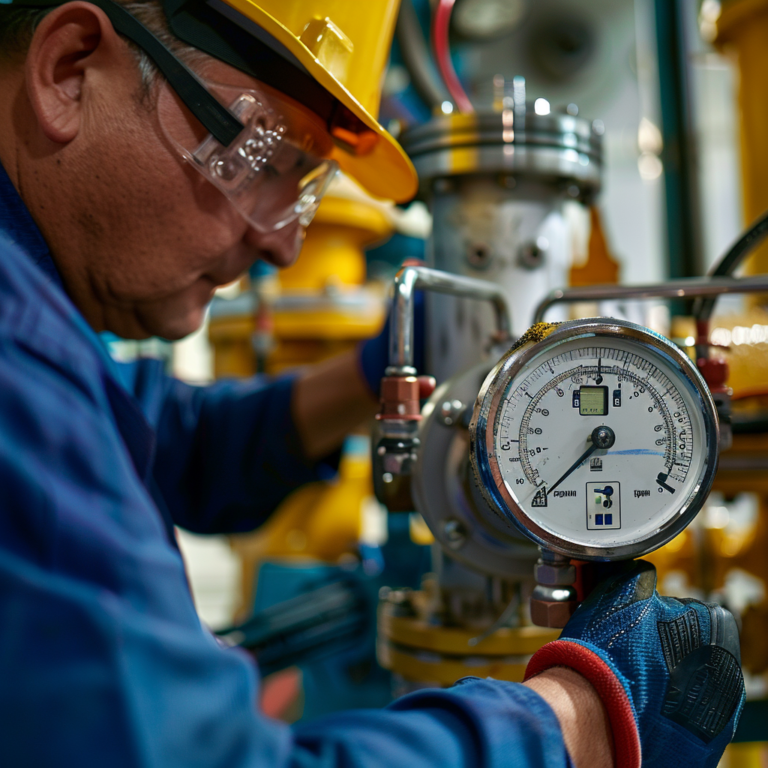
For example, when pressure gauges, sensors, or transducers are used in industrial applications, the readings will be displayed in pascals (Pa), which allows for accurate comparisons between different systems and processes. Since pascal is a derived unit of the SI system, it ensures a standardized method of measuring pressure across various fields, such as fluid mechanics, thermodynamics, and materials science.

Conclusion
In both temperature and pressure measurement applications, the correct understanding and application of unit definitions, along with the appropriate sensor positioning or calibration, are crucial for ensuring accuracy and reliability. Temperature sensors must be carefully inserted to the proper depth depending on the flow state of the fluid to guarantee accurate measurements. Similarly, pressure instruments rely on the standardized pascal unit (Pa) to measure pressure consistently, providing a clear and universally accepted method for pressure measurement across various industries. Proper understanding of these concepts ensures that instruments perform optimally in the field and deliver precise data for critical industrial processes.
