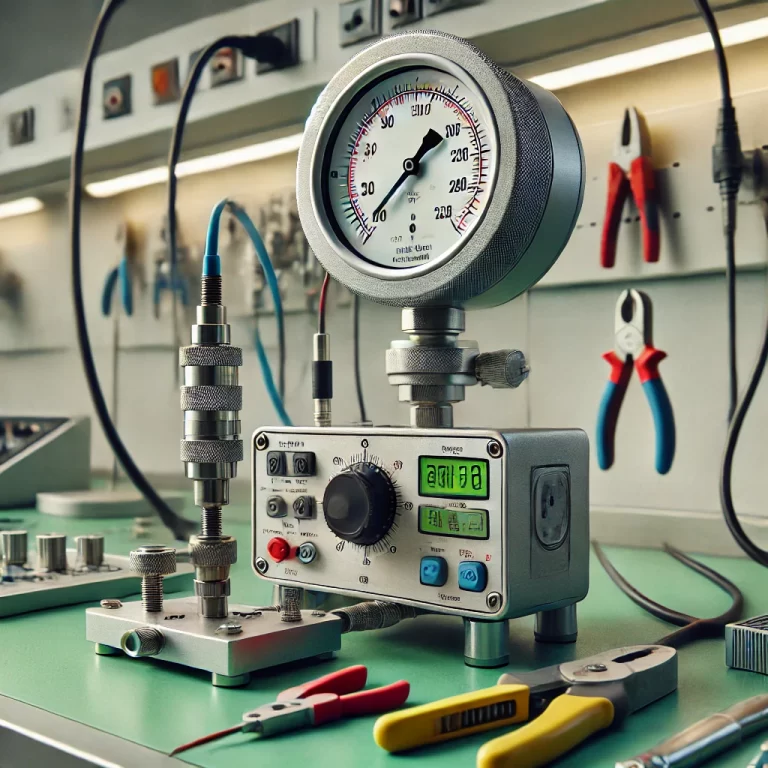
Pressure transmitters are commonly used in industrial applications for measuring and transmitting pressure values. These devices offer high accuracy, good stability, fast response times, strong anti-interference capability, compact structure, and easy installation. The circuitry within the pressure transmitter is a critical component that directly affects its overall performance. A malfunctioning circuit can lead to inaccurate readings or failure to function properly. Therefore, ensuring the proper functioning of the circuit is essential for reliable pressure measurement. In this article, we will examine how to inspect the circuit of a pressure transmitter in the event of a fault.

Situation 1: No Output Voltage After Powering On
When the pressure transmitter is powered on and receives an input pressure signal, the output voltage signal should respond accordingly. If no output voltage is observed, follow these steps to troubleshoot the issue:
Check Power Supply: The first step is to verify whether the power supply voltage is correct and meets the requirements for the pressure transmitter. Ensure that the voltage supplied to the device is stable and within the specified range.
Inspect Wiring Connections: Check the wiring between the power supply, pressure transmitter, and any connected load devices. Incorrect wiring or a reversed polarity connection could prevent the transmitter from providing an output voltage. Ensure all connections are secure and correctly oriented.
Inspect Circuit Board Connectors: Inspect the connectors on the circuit board for any signs of poor contact. If necessary, compare the measured voltages from a working transmitter to the faulty one to pinpoint the source of the issue.
Replace Faulty Amplifier Board: If the issue persists and a specific faulty component is identified, such as the amplifier board, it may be necessary to replace the defective component to restore functionality.

Situation 2: Abnormal Output (Too High or Too Low) with No Response to Adjustments
If the pressure transmitter is powered on, and the output is either too high or too low despite providing an input pressure signal, or if adjusting the zero and range screws does not affect the output, it indicates a potential issue with the amplifier board or other sensitive components. Here’s how to proceed:
Inspect Pressure Sensor Components: The first step is to check the sensor components responsible for measuring pressure. If the sensor is damaged or malfunctioning, it could lead to abnormal output. Ensure the sensor is free from blockages or physical damage.
Examine the Amplifier Board: The next step is to check the amplifier board, specifically the “oscillation control circuit” that regulates the transmitter’s signal. If the oscillation circuit is malfunctioning, it may prevent proper amplification of the signal.
Check Operational Amplifiers: The operational amplifiers (op-amps) on the amplifier board play a crucial role in processing the signal. Inspect them for any signs of failure. If any of the op-amps are faulty, they may need to be replaced.
Examine Other Components: Review the rest of the components on the amplifier board for any visible damage, such as burnt parts or broken connections. Faulty resistors, capacitors, or other components may contribute to the malfunction.
Replace the Amplifier Board: If a fault is identified within the amplifier circuit and repairs are not feasible, replacing the entire amplifier board may be the most efficient solution to restore normal operation.

Conclusion
Regular inspection and maintenance of the pressure transmitter circuit are essential for ensuring long-term, reliable operation. By carefully checking power supply conditions, wiring, and components such as the sensor and amplifier board, you can effectively troubleshoot common circuit issues. Preventing these faults through routine checks will minimize downtime and ensure your system operates optimally.
Proper understanding of the circuitry and its components is critical for anyone working with pressure transmitters. Always refer to the manufacturer’s guidelines and seek professional help if the problem persists after initial troubleshooting steps.
