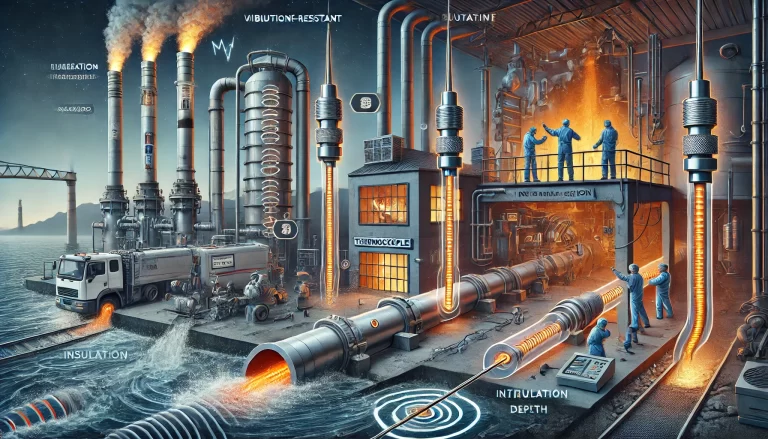
From the scorching furnaces of steelmaking plants to the intricate reactors of chemical processing, and even the thermal protection systems of aerospace vehicles, accurate temperature measurement is vital. It directly influences product quality, operational safety, and technological innovation. As one of the most widely used temperature sensors in industry, the metrological performance of thermocouples plays a decisive role in measurement reliability.
📌 According to industry statistics, approximately 35% of temperature measurement errors originate from thermocouple deviations. This underscores the critical importance of regular calibration and verification.
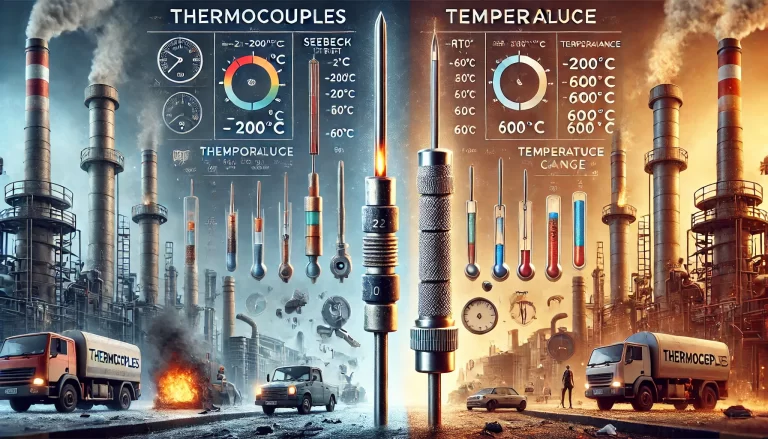
🔍 1. Working Principle and Error Sources
Thermocouples operate based on the Seebeck effect, where an electromotive force (EMF) is generated when there is a temperature gradient between two dissimilar conductors in a closed circuit. This makes thermocouples ideal for industrial temperature measurement.
However, prolonged exposure to:
High temperatures,
Corrosive environments, or
Mechanical stress
…can alter the material’s lattice structure, cause element diffusion or contamination, leading to thermoelectric drift.
📉 Case in Point: A Type K thermocouple used at 1000°C for 200 hours may exhibit a deviation of 3–4°C—unacceptable in precision processes.
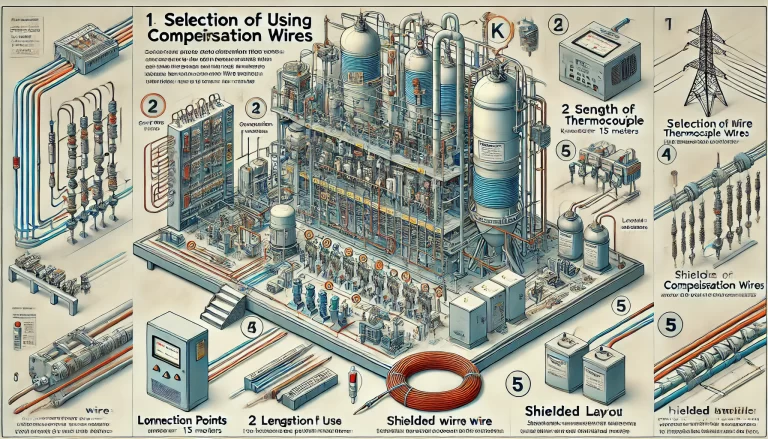
🧪 2. Calibration Methods: Fixed-Point vs. Comparison
Thermocouple calibration aims to establish a reliable relationship between thermal EMF and actual temperature. The two primary lab methods are:
🧊 Fixed-Point Method
Utilizes phase transition points of pure substances (e.g., zinc, antimony, silver).
Provides extremely high accuracy.
Uncertainty: < ±0.1°C
🌡 Comparison Method
Compares the thermocouple under test with a standard thermocouple in a controlled furnace.
Uses precision temperature control systems and low-EMF switches.
Uncertainty: < ±0.5°C (within 300–1200°C)
📊 Suggested Visual Aid:
| Method | Reference Standard | Temperature Range | Accuracy (±°C) | Typical Use Case |
|---|---|---|---|---|
| Fixed-Point | Metal freezing/melting points | < 1000°C | 0.1 | National labs |
| Comparison | Standard thermocouple | 300–1200°C | 0.5 | Industrial labs |
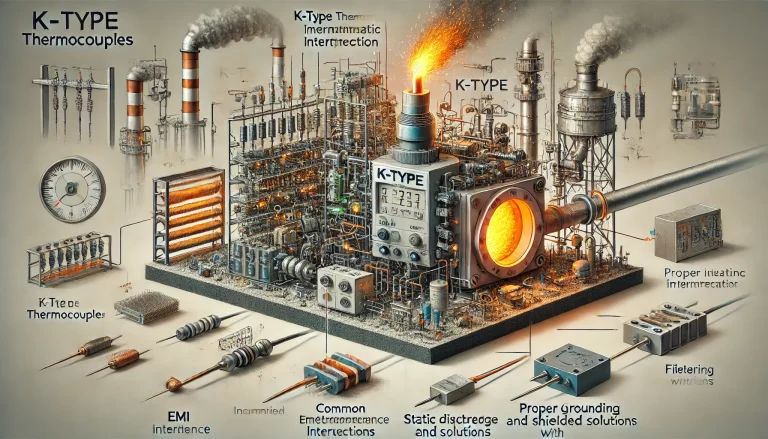
🛠️ 3. On-Site Verification: Practical and Efficient
For field applications, portable thermocouple calibrators offer a practical way to assess sensor health without disassembly. Features typically include:
Multi-channel scanning
Automatic cold-junction compensation
Integrated data analysis
📌 Case Study: A petrochemical company reported that quarterly on-site testing reduced unplanned shutdowns by over 60% due to early detection of failing thermocouples.
✅ Preventive diagnostics at key measurement points significantly reduce quality incidents due to inaccurate readings.
🚀 4. Emerging Trends in Intelligent Calibration
With the rise of smart manufacturing, thermocouple calibration is evolving rapidly:
📈 Predictive Diagnostics
Machine learning models analyze historical calibration data to forecast degradation trends.
🔒 Blockchain-Enabled Certificates
Ensure tamper-proof traceability in metrology records.
🧠 Digital Twin Calibration Labs
Virtual simulation of the calibration process, enabling optimization and remote verification.
🌐 The BIPM (International Bureau of Weights and Measures) now recommends that metrology labs adopt digital twin systems to enhance transparency and efficiency.
✅ Conclusion
Thermocouple calibration is more than a technical requirement—it’s the backbone of industrial temperature reliability. From traditional factories to cutting-edge aerospace systems, maintaining calibration integrity ensures accurate data, safe processes, and consistent quality.
As new materials and extreme conditions emerge, thermocouple technology will continue to evolve, guarding the precision and trust essential to modern industry.
