Float level gauges are precise instruments commonly used for liquid level measurement. Correct installation is crucial to ensure accurate readings and to prolong the lifespan of the device. This article outlines the key considerations and step-by-step guidance for installing float level gauges in detail.
1. Installation Location
Avoid material inlets and outlets:
Ensure the gauge is installed away from material entry and exit points in the tank to avoid interference from rapid fluid flow, which can affect measurement accuracy.
Vertical positioning:
The float level gauge must be installed vertically. This ensures that the float remains in its proper operating range and can detect level changes accurately.
Environmental requirements:
Avoid installation in locations with excessive vibration, moisture, or potential mechanical damage.
Keep the gauge away from strong magnetic fields that may disrupt electronic components.
Ensure the ambient temperature does not exceed 80°C, as higher temperatures could damage sensitive electronic parts.
2. Float Installation
For internal floats:
Carefully place the internal float into the container without force.
Confirm that the chain is naturally straightened.
Secure the chain lock and ensure the float rod is tightly fixed before attaching the transmitter body.
For external floats:
The external tube must be aligned perpendicular to the horizontal plane.
Remove any protective materials, such as vibration dampeners, from the inner float before installation.
Lift the connector hook with your fingers to unlock it. Slide the connector onto the lever arm’s end, then rotate the hook to the locked position.
Protect the torque tube:
During installation or removal, take care to prevent stress or damage to the torque tube, as it is a critical and delicate component of the system.
3. Other Considerations
Anti-disturbance measures:
For environments with significant agitation or liquid surface turbulence, consider installing an anti-disturbance pipe to stabilize the float’s movement.
Temperature and medium considerations:
If the measured medium temperature exceeds 200°C, the float level gauge should be equipped with a heat sink.
For media below 0°C, use an extension pipe to ensure accurate readings.
Avoid using float level gauges with high-viscosity liquids, as the device may not perform effectively.
Density correction:
The output signal of a float level gauge depends on the density of the measured medium. If the medium’s density changes, recalibration is necessary to maintain measurement accuracy.
Calibration and zeroing:
After installation, move the sensor lock slider to the unlocked position as indicated. Then, reset the float level gauge to zero according to the manufacturer’s instructions.
4. Safety Guidelines
Personal protective equipment (PPE):
Wear appropriate PPE, including gloves, safety glasses, and protective clothing, during installation to prevent injury.
Electrical precautions:
Before connecting the device to the power supply, ensure all electrical connections are properly insulated and secure to avoid short circuits or shocks.
Routine inspections:
Periodically check for mechanical wear, proper alignment, and environmental changes that may affect the gauge’s performance.
5. Additional Recommendations
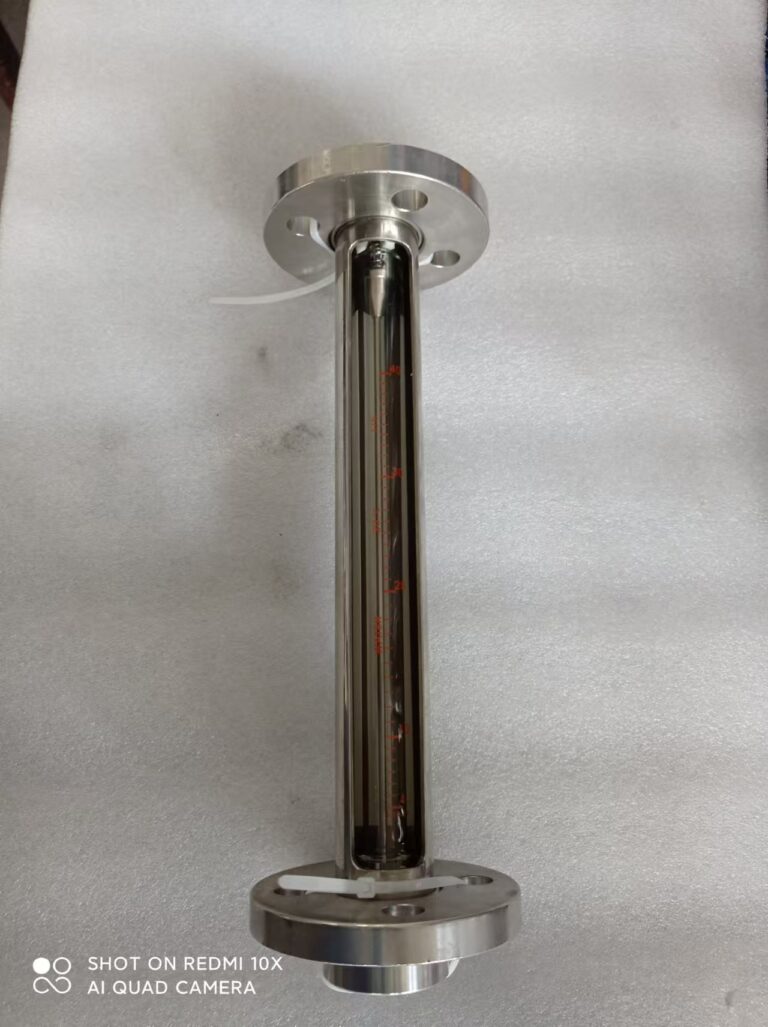
Introduction of float level gauges:
Float level gauges operate by detecting the liquid level through a buoyant float mechanism. They are widely used in industries such as petrochemical, water treatment, and food processing.
Installation diagrams:
For more intuitive guidance, refer to the installation diagrams provided by the manufacturer. Including a schematic illustration can help visualize the correct steps and avoid errors during installation.
Extreme condition suitability:
If operating in corrosive or marine environments, ensure the materials of the float level gauge are resistant to the specific chemicals or conditions present.

By following these detailed guidelines, you can ensure a smooth and efficient installation process, leading to reliable and accurate liquid level measurement in your system. Proper handling and periodic maintenance will further enhance the gauge’s durability and performance.