Optimizing the installation position of ultrasonic flowmeters is critical for ensuring accurate measurements. Various factors, including the length of straight pipe sections, fluid flow conditions, sensor placement, and environmental considerations, must be addressed. Below is a detailed guide for optimizing the installation position to maximize measurement accuracy:
1. Select the Appropriate Straight Pipe Section
Upstream Straight Pipe Length: Ensure that the upstream straight pipe length is at least 10 times the pipe diameter (10D). This allows the fluid flow to stabilize before reaching the flowmeter.
Downstream Straight Pipe Length: Maintain a downstream straight pipe length of at least 5 times the pipe diameter (5D) to preserve a stable flow condition after the flowmeter.
Avoid Turbulence Sources: Avoid installing the flowmeter near components that may disturb the flow pattern, such as valves, elbows, or pumps. If unavoidable, consider additional straight pipe sections or flow conditioning devices.
2. Minimize External Interferences
Electromagnetic Interference: Install the flowmeter away from strong magnetic fields, vibrating equipment, or high-power devices like transformers and variable-frequency drives.
Free Flow or Vertical Pipe Considerations: Avoid positioning the flowmeter at the highest point in the piping system or on vertical pipes with free outlets, especially where fluid flows downward. These positions can lead to issues like incomplete pipe filling.

3. Optimize Sensor Placement
Horizontal Pipes:
Sensors should be installed at the midsection of the pipe to prevent interference from air bubbles (at the top) or sediment accumulation (at the bottom).
Vertical Pipes:
Place sensors on the curvature plane of upstream bends to align with the natural flow direction.
Sensor Orientation:
Sensors should be mounted on the pipe axis in the horizontal direction and within a ±45° range from the horizontal axis to reduce the effects of incomplete filling, air bubbles, or sediment.
4. Ensure Ideal Pipe Conditions
Material Suitability: Use pipe sections made of materials with uniform density and excellent ultrasonic wave transmission.
Pipe Surface Preparation:
Ensure the inner pipe surface is smooth and free from obstructions like scale deposits or irregularities.
For older pipes, remove contaminants such as asphalt or rust. Prepare the surface by grinding to meet the detector installation specifications, typically requiring a 200 mm smooth surface.
5. Choose the Right Installation Method
Methods: Use either the “V” method or the “Z” method, depending on the pipe’s diameter and the sensor type.
Alignment: Ensure that both sensors are aligned along the same axis and verify the pipe’s external circumference, wall thickness, and outer wall temperature before installation.
6. Other Key Considerations
Operational Space: Ensure sufficient space around the pipe for installation and maintenance. For underground pipes, create a test pit for easy access.
Coupling Agents:
Apply sufficient coupling agents between the sensor and the pipe wall to avoid air gaps or solid particles that could impair signal transmission.
Post-Installation Checks:
Conduct a zero-flow calibration to set the baseline and eliminate drift.
Regularly calibrate the flowmeter to maintain long-term accuracy.
Visual Aids and Practical Examples
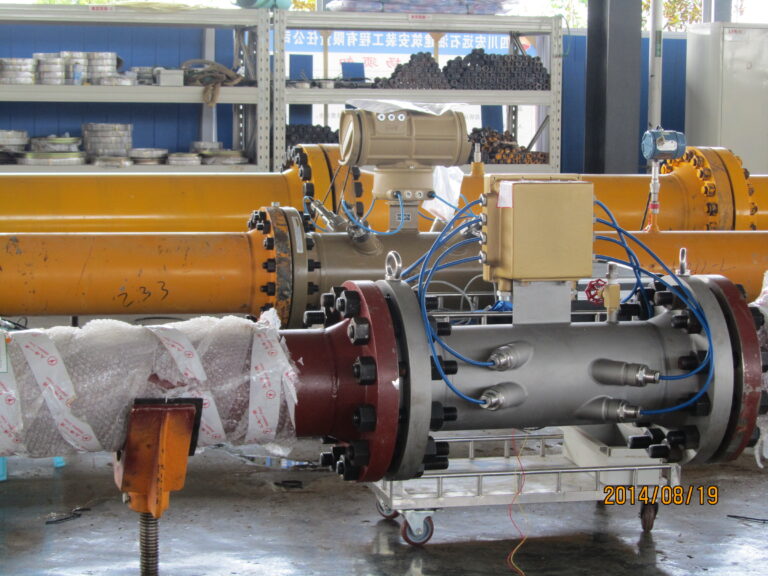
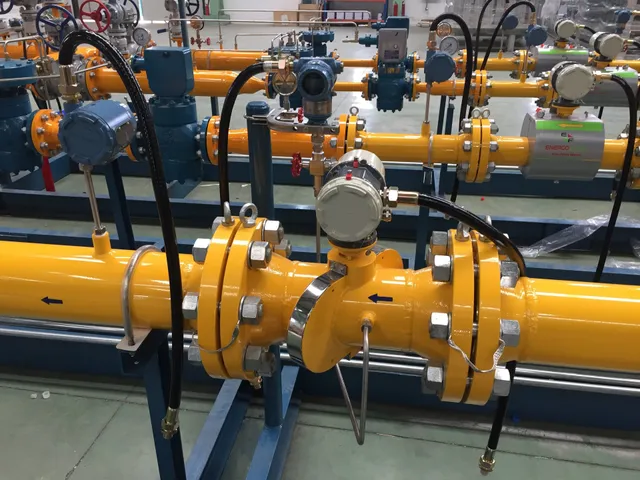
Incorporate diagrams showing ideal sensor placement and flow patterns to provide a clear understanding of the installation process. Additionally, present case studies that highlight the benefits of optimized installation, such as improved accuracy and reduced operational issues in real-world applications.
Conclusion
Proper installation of ultrasonic flowmeters is essential for achieving accurate and reliable flow measurements. By following the above guidelines, operators can minimize errors and maximize the performance of their flowmeters. Regular maintenance and adherence to best practices ensure consistent results and longevity of the equipment.