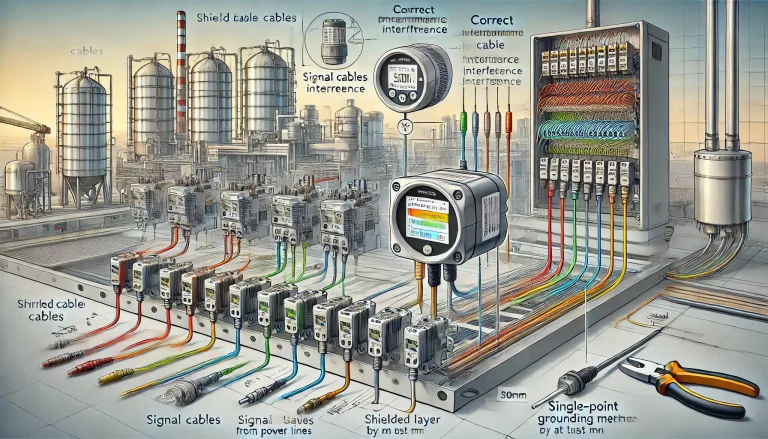
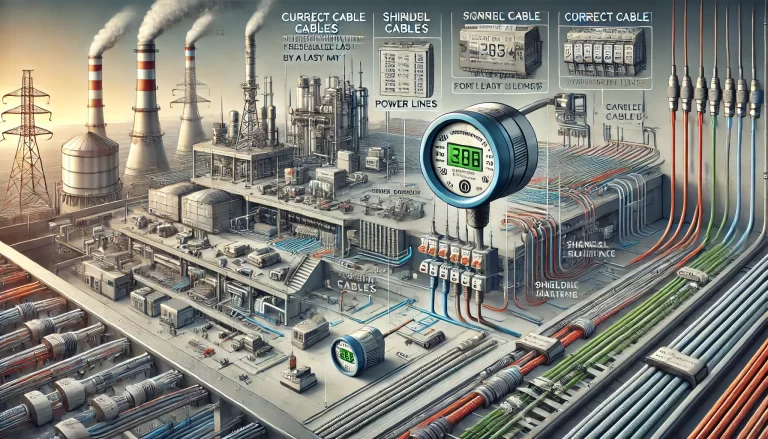
Temperature transmitters are critical components in industrial and laboratory settings. When they experience interference, their accuracy and performance can be compromised. Proper maintenance and troubleshooting can restore functionality and prevent future issues. This article outlines a comprehensive approach to maintaining temperature transmitters by focusing on hardware inspection, calibration and software adjustments, and environmental optimization.

1. Hardware Inspection and Maintenance
1.1 Checking the Sensor
Physical Inspection: Examine the sensor probe for any damage, corrosion, or contamination. If the sensor is damaged, it should be replaced immediately. If contamination is found, carefully clean it using appropriate methods to ensure accurate temperature detection.
Connection Integrity: Inspect the sensor’s wiring and terminals to ensure they are secure and free from oxidation or looseness. Poor connections can lead to intermittent signal failures or incorrect readings.
1.2 Inspecting the Transmitter Circuit
Electronic Component Check: Examine the transmitter’s circuit board for signs of overheating, burnt components, or short circuits. If faulty components (capacitors, resistors, IC chips) are identified, use professional tools to replace them.
Solder Joint Examination: Look for cold solder joints, loose connections, or broken solder points on the PCB. If necessary, re-solder the affected areas to ensure a stable connection.
1.3 Shielding and Grounding Inspection
Shielding Integrity: Ensure that shielding layers on cables are intact and not broken or frayed. If damaged, replace or repair the shielding to prevent electromagnetic interference.
Proper Grounding: Check if the grounding system is functioning correctly. The grounding resistance should be less than 4 ohms for optimal performance. If resistance is too high, inspect and enhance the grounding system to minimize interference risks.

2. Calibration and Software Adjustments
2.1 Recalibration
Using a Standard Temperature Source: To verify and correct temperature accuracy, use a high-precision reference temperature source. Compare the transmitter’s output with the actual temperature and adjust settings accordingly.
Online Calibration for Smart Transmitters: If using a digital or smart transmitter, perform an online calibration via handheld calibrators or software tools. Follow the manufacturer’s calibration procedures to maintain measurement accuracy.
2.2 Software Parameter Review
Verify Settings: Ensure that the range, response time, and filtering parameters are correctly set according to the application requirements.
Check for Firmware Issues: If the transmitter continues to show errors, consider resetting it to factory settings or updating the firmware/software to the latest version to eliminate bugs and improve performance.

3. Environmental Optimization and Installation Best Practices
3.1 Selecting an Optimal Installation Location
Avoid Electromagnetic Interference (EMI): Install the temperature transmitter away from interference sources like high-power motors, transformers, and variable frequency drives (VFDs). Maintain at least 1 meter (3.3 feet) of separation from such equipment.
Protect Against Harsh Environments: If installation in high temperature, humidity, or corrosive gas environments is unavoidable, use protective enclosures or implement ventilation and heat dissipation measures to ensure longevity.
3.2 Proper Wiring and Cable Management
Avoid Parallel Routing with High-Voltage Lines: Signal wires should be routed away from power cables. If parallel installation is unavoidable, maintain a minimum separation distance of 30 cm (12 inches) to reduce electromagnetic coupling.
Use Proper Shielding Techniques: Ensure signal cables are adequately shielded and grounded at only one end to prevent ground loops, which can introduce noise and signal distortion.

4. Troubleshooting Guide for Common Interference Issues
To make the troubleshooting process easier, use the following table:
| Issue | Possible Cause | Recommended Solution |
|---|---|---|
| Unstable readings | Poor grounding, EMI from nearby equipment | Improve grounding, relocate transmitter away from interference sources |
| No response from sensor | Sensor damage, loose connections | Replace sensor, check and secure wiring |
| Large measurement errors | Calibration drift, incorrect settings | Perform recalibration, verify parameter configurations |
| Signal noise or fluctuations | Poor shielding, power line interference | Check and repair shielding, separate signal lines from power cables |
| Software malfunction | Firmware bugs, incorrect configuration | Reset or update firmware, review and adjust settings |

5. Summary of Maintenance Steps
For quick reference, follow these steps systematically:
Inspect Hardware: Check the sensor, wiring, circuit board, and grounding system.
Recalibrate: Use a standard temperature source or software tools to ensure accuracy.
Review Software Settings: Verify configurations, update firmware if necessary.
Optimize Installation: Minimize interference by improving positioning and wiring layout.
Follow Safety Guidelines: Always adhere to electrical safety procedures when performing maintenance.
By following these structured maintenance steps, temperature transmitters can be effectively restored to optimal functionality and protected against recurring interference issues. If complex problems arise, consult professional technicians for further assistance.
