Introduction
In various industries, a wide range of instruments is utilized, particularly in laboratories where precision equipment plays a crucial role. Given the large number of instruments in some organizations, managing calibration schedules can be challenging. A key question arises: how often should these instruments be calibrated? Establishing an appropriate calibration cycle is essential for maintaining measurement accuracy, ensuring regulatory compliance, and optimizing operational costs. This article explores the factors influencing calibration frequency, the principles guiding calibration cycles, the consequences of improper calibration intervals, and scientific methods to determine optimal calibration schedules.
What Defines an Instrument Calibration Cycle?
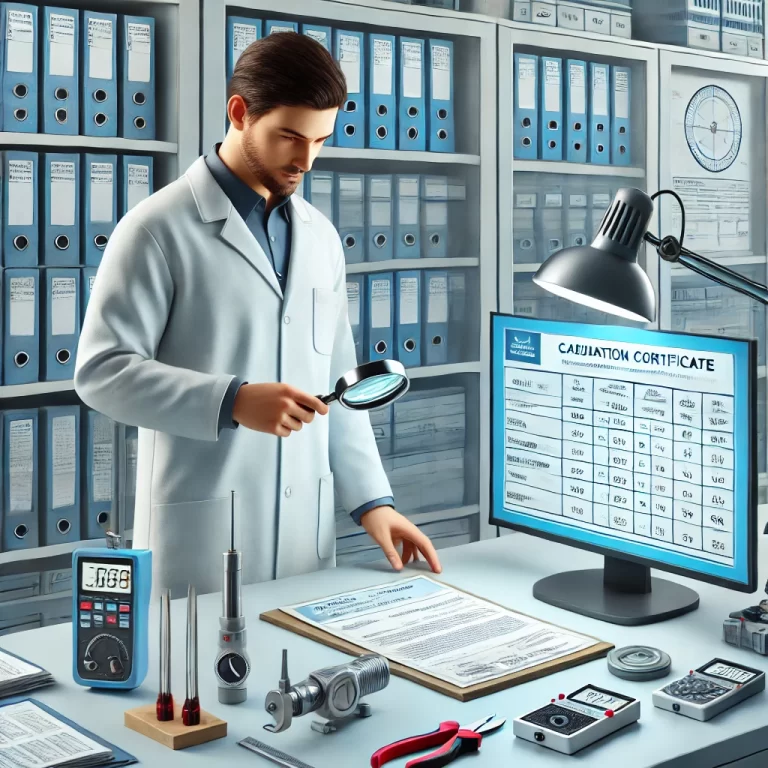
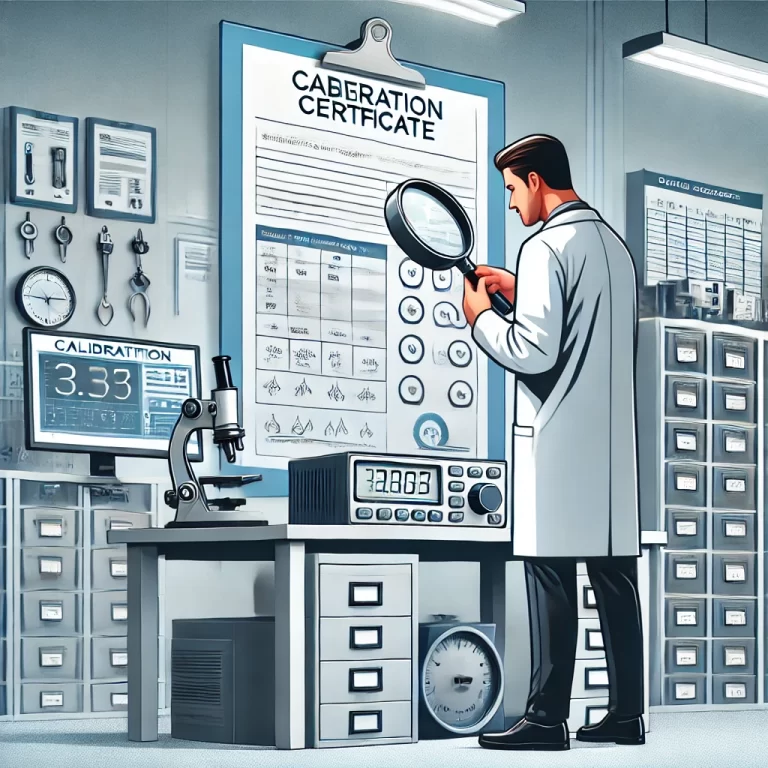
Calibration cycle refers to the time interval between two consecutive calibrations of an instrument. However, regulatory bodies do not impose strict timelines for calibration cycles. According to CNAS-CL01:2018 (Clause 7.8.4.3), neither calibration certificates nor calibration labels should explicitly recommend a calibration cycle. This means that organizations must determine the calibration frequency based on their specific requirements and operational conditions.

Factors Influencing the Calibration Cycle
Since there is no universal standard for calibration frequency, determining an appropriate calibration cycle requires a thorough assessment of several factors:
Instrument Type and Functionality: High-precision instruments, such as analytical balances or spectrometers, typically require more frequent calibration than low-precision equipment.
Usage Frequency: Instruments used continuously in production or research environments experience faster wear and drift, necessitating more frequent calibration.
Environmental Conditions: Exposure to extreme temperatures, humidity, vibrations, or contaminants can affect an instrument’s stability, making regular calibration essential.
Previous Calibration Data (Traceability Records): Historical calibration data helps determine how an instrument’s accuracy changes over time, assisting in setting an optimal calibration schedule.
Manufacturer Recommendations: While not mandatory, following manufacturers’ suggested calibration intervals can serve as a good starting point.
Regulatory and Industry Standards: Some industries, such as pharmaceuticals or aerospace, have strict calibration requirements defined by regulatory authorities.
Key Principles for Determining Calibration Cycles
Two fundamental principles should guide the establishment of a calibration cycle:
Minimization of Risk: The calibration cycle should be designed to minimize the risk of measurement errors. If an instrument deviates beyond acceptable limits, it could lead to inaccurate data, regulatory violations, or even safety hazards.
Cost-Effectiveness: While frequent calibration ensures accuracy, it also increases operational costs. The ideal calibration schedule balances cost and precision, ensuring instruments remain reliable without incurring unnecessary expenses.

Consequences of an Improper Calibration Cycle
An inadequate calibration cycle—whether too long or too short—can have significant consequences:
Excessive Calibration Frequency: Conducting frequent calibrations increases costs without substantial benefits, leading to unnecessary downtime.
Prolonged Calibration Intervals: Delaying calibration can result in measurement inaccuracies, quality control failures, and non-compliance with regulatory requirements.
Data Inconsistencies and Errors: Uncalibrated instruments may produce inconsistent data, leading to faulty decision-making in research and production.
Product Quality and Safety Risks: In industries such as pharmaceuticals or automotive manufacturing, incorrect measurements could result in defective products, safety hazards, or legal liabilities.

Scientific Methods to Determine Calibration Cycles
Organizations can leverage statistical and analytical methods to establish optimal calibration cycles:
Statistical Analysis: By analyzing the failure rate and non-conformance percentage of products over time, organizations can adjust calibration intervals based on quality trends. A high defect rate indicates the need for more frequent calibration.
Comparison Method: If calibration results consistently show deviations exceeding acceptable thresholds, the calibration cycle should be shortened.
Graphical Trend Analysis: Tracking calibration data over time using graphical methods (such as control charts) can help determine patterns in instrument performance degradation, enabling precise calibration scheduling.
Predictive Maintenance Models: Utilizing machine learning and predictive analytics can enhance calibration scheduling by forecasting potential instrument failures before they occur.

Conclusion
Effective calibration management is a critical aspect of quality control and operational efficiency. Rather than viewing calibration as a reactive process, organizations should implement a proactive, data-driven approach to establish optimal calibration cycles. By considering instrument type, usage, environmental factors, and historical calibration data, companies can ensure measurement accuracy, maintain compliance, and optimize costs. Implementing statistical methods and trend analysis further enhances calibration efficiency, ultimately contributing to improved product quality and operational reliability.
