Electrical leakage is a common yet dangerous issue in both home appliances and industrial equipment. It can cause electric shocks, equipment failure, or even fires. In this guide, you’ll learn how to measure electrical leakage using a digital multimeter, the types of leakage to watch for, and which tools are best suited for the job.
✅ This guide is ideal for technicians, electricians, and facility managers dealing with AC circuits and grounded equipment.
🧠 What Is Electrical Leakage?
Leakage current occurs when electricity escapes from its intended path (the circuit) and flows through insulation to ground or surrounding conductive materials. Common causes include:
Aging insulation
Mechanical damage to cables or connectors
Moisture or humid conditions
Poor circuit design or grounding
🛠️ What You Need
A high-quality digital multimeter (bench-top or handheld)
Probe leads and safety clips
Insulated gloves and rubber-soled shoes
Dry environment and safety goggles
🧪 Step-by-Step: How to Measure Leakage with a Multimeter
1. Safety First
Turn off power and disconnect the equipment.
Wear safety gear and ensure you’re standing on an insulated surface.
2. Set Your Multimeter
Use the highest resistance range (e.g. 200MΩ)
Test your probes: short them together and confirm a ~0Ω reading
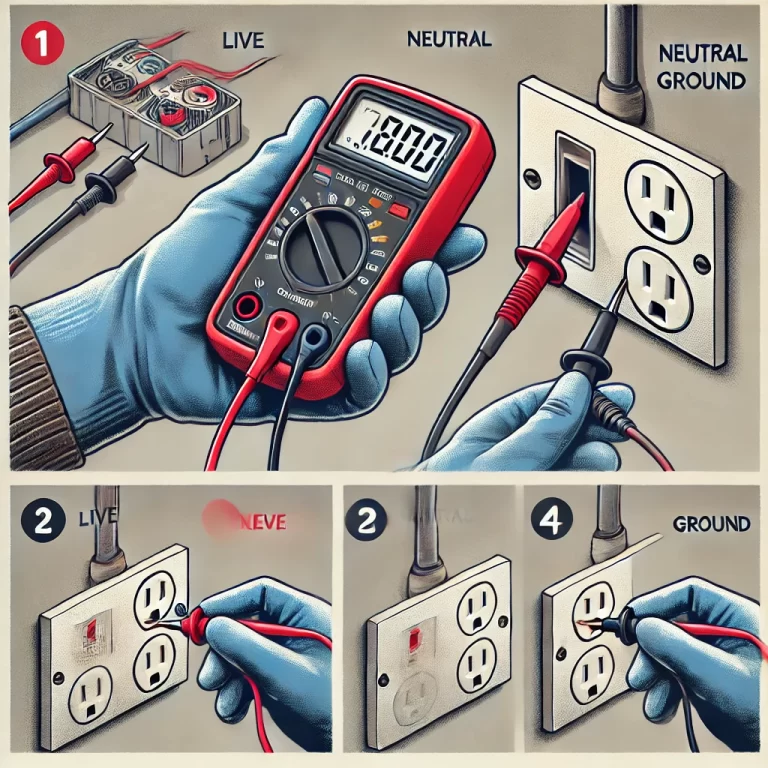
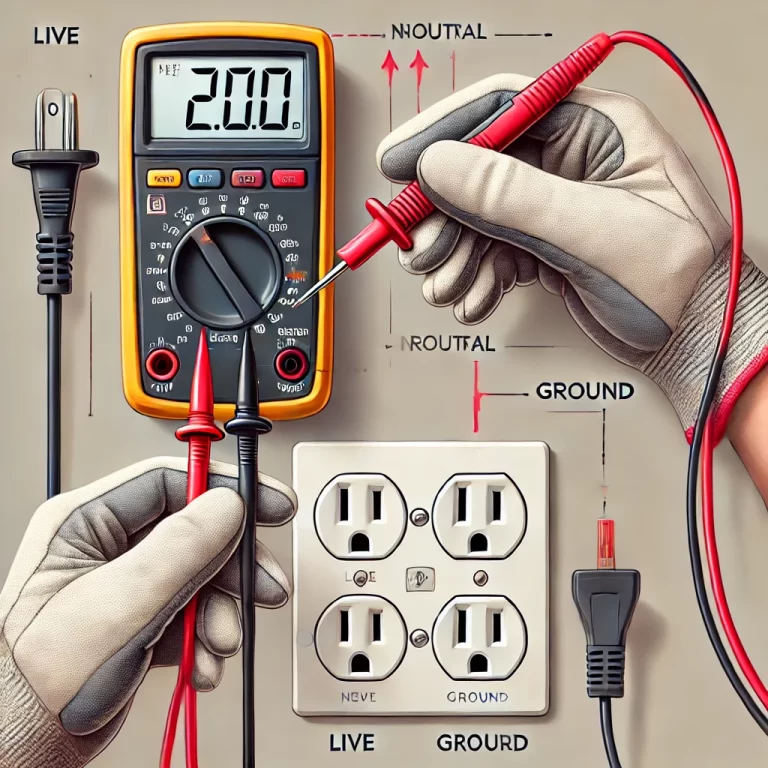
3. Check Insulation Resistance
One probe touches the metal chassis (ground)
The other touches the live terminal (L or N)
If the reading is OL or >1MΩ, the insulation is likely intact.
If the reading is a few kΩ or less, you have a leakage problem.
4. Measure Leakage Current (Advanced)
Turn power back on.
Set multimeter to AC mA mode
Connect the meter in series between live line and load
Acceptable voltage: <5V (often just floating voltage)
Higher readings? You’ve got a problem.
⚠️ Common Mistakes to Avoid
Measuring on live circuits without PPE
Using low-grade multimeters with poor impedance range
Ignoring low mA readings—they could still be hazardous over time
💼 Real-Life Example: Testing a Washing Machine for Leakage
Set meter to 200MΩ
Probe from chassis to plug terminals (L/N)
Result shows 0.2 MΩ → poor insulation
Leakage confirmed — recommend repair or replacement
🔚 Conclusion
Testing for electrical leakage isn’t just for electricians — it’s for anyone who cares about safety, efficiency, and preventing disaster. Invest in a proper multimeter and stay ahead of hidden faults in your equipment.
💡 Start with the right tools. Every technician’s safety starts with a solid meter.