Mass flow meters, such as Coriolis mass flow meters, require calibration of the zero point and full scale to ensure measurement accuracy. This process eliminates zero drift and range deviations, ensuring optimal performance. Below are the detailed steps and key considerations for calibration.
1. Pre-calibration Preparations
1.1 Check Operating Conditions
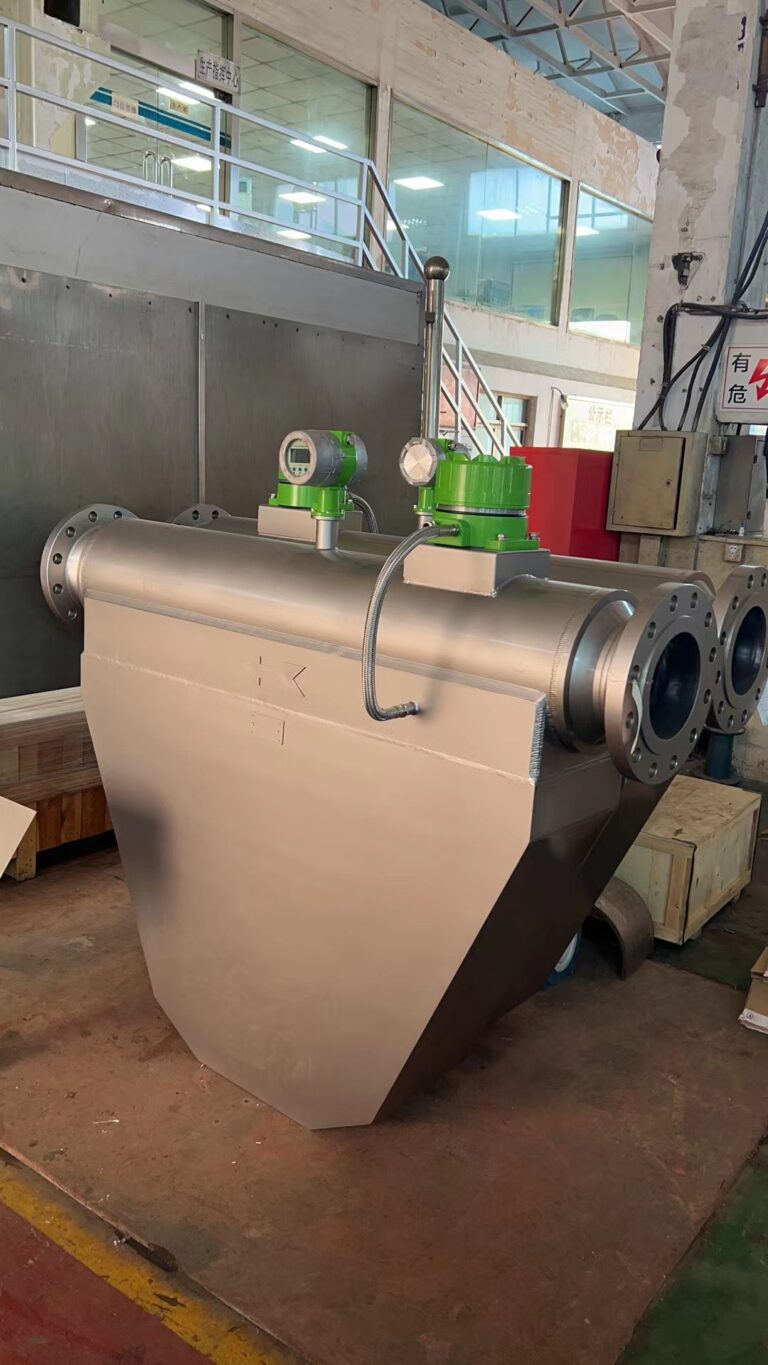
Correct Installation: Ensure the flow meter is installed according to the specifications: the pipe should be fully filled, free of air bubbles (for liquids), or free of liquid traps (for gases), with the correct flow direction. The upstream and downstream straight pipe sections should meet the requirements (typically 10D upstream and 5D downstream, where D is the pipe diameter).
Stable Medium Conditions: During calibration, ensure the temperature and pressure of the medium are consistent with normal operating conditions (avoid temperature fluctuations that might affect pipe stress and the zero point).
Proper Equipment Connection: Verify the flow meter, transmitter, and display equipment are properly connected, with stable communication and secure wiring, free from electromagnetic interference.
1.2 Equipment and Parameters
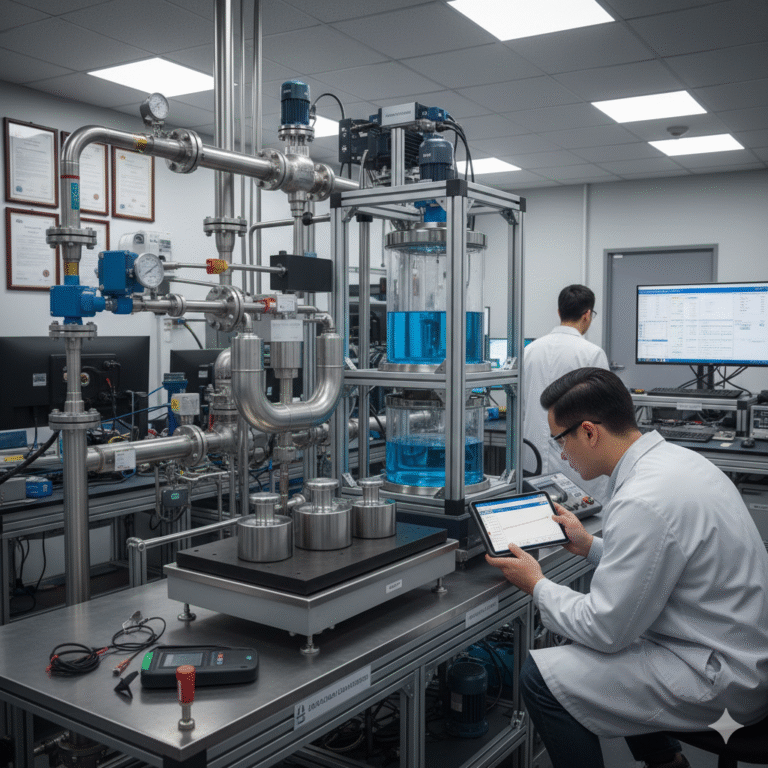
Prepare standard calibration equipment (e.g., a standard mass flow meter or standard weight system with higher precision than the meter being calibrated).
Record the current parameters of the flow meter: range (e.g., 0-1000 kg/h), zero offset, factory calibration coefficients, etc.
2. Zero Point Calibration (Critical Step)
Zero point calibration ensures the flow meter’s signal is accurately zero when no flow is present, eliminating any drift in “no flow” conditions.
2.1 Steps:
Ensure No Flow: Close the upstream and downstream valves to stop the flow of the medium, allowing it to settle (for liquids, purge any air bubbles; for gases, stabilize pressure fluctuations).
Wait for 5-10 minutes to allow the temperature, pressure, and internal stress in the meter to stabilize.
Enter Zero Point Calibration Mode: Access the “Zero Point Calibration” menu through the flow meter transmitter or software (such as a HART communicator or specialized calibration software).
Some models support “online dynamic zero point calibration,” but this requires a stable zero-flow condition.
Perform Calibration: Start the zero point calibration process. The system will automatically record the sensor signal at no flow and set this as the new zero point.
Avoid any physical contact with the pipe or meter during calibration to prevent vibration interference.
Verify Zero Point: After calibration, check if the instantaneous flow reading is close to 0 (usually with an error of ≤ ±0.02% FS, depending on the meter’s accuracy).
If the reading still shows a deviation, repeat the calibration 1-2 times. If the issue persists, check for installation stress (e.g., flange misalignment) or sensor faults.
3. Full Scale Calibration
Full scale calibration ensures the flow meter is linear across its entire measurement range. It involves applying known mass flow rates from a standard source (such as a standard flow meter or metering pump with weights) to compare and adjust the meter’s reading.
3.1 Steps:
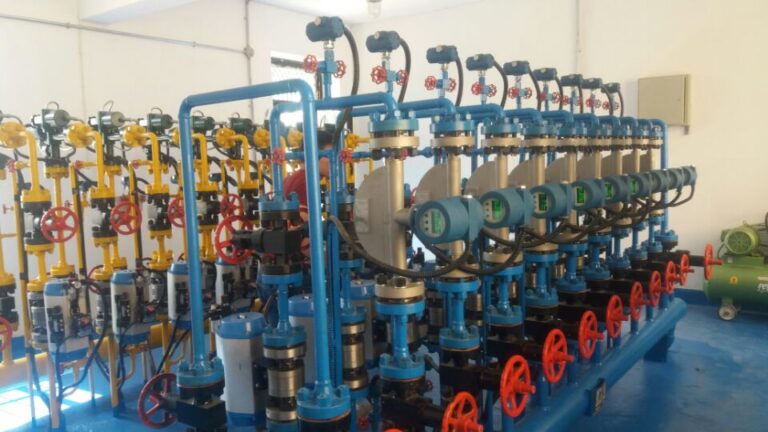
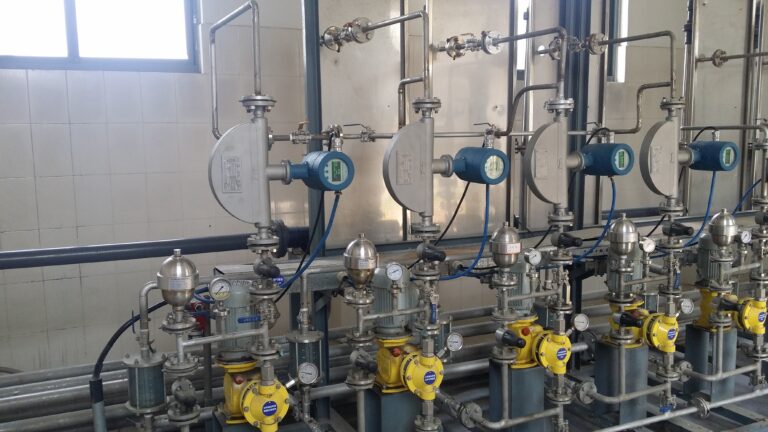
Connect Standard Calibration Equipment: Connect the standard flow calibration device in series with the mass flow meter (ensure the flow direction is consistent), or use a splitting method (a portion of the flow goes through the standard device while the rest flows through the meter to be calibrated).
For liquids, ensure no air bubbles are present in the pipeline. For gases, stabilize temperature and pressure to avoid density changes affecting mass flow.
Set Calibration Points: Typically, select 3-5 calibration points (e.g., 20%, 50%, 80%, and 100% of the meter’s range), covering the commonly used flow rates.
Apply Standard Flow Rates: Adjust the standard calibration device to the first calibration point (e.g., 20% of the range) and wait for the flow to stabilize (within ±0.1% fluctuation).
Record both the standard and the meter’s readings.
Calculate and Adjust Calibration Coefficients: For each calibration point, calculate the error:
If the error exceeds the allowable range (e.g., ±0.1%), input the standard value through the transmitter menu or software, and the device will automatically adjust the calibration factors (e.g., gain, slope).
High-end flow meters may support “multi-point linear fitting” to optimize linearity across the entire range.
Verify Full Scale Calibration: After calibration, reapply the flow rates at each calibration point to verify that the error between the meter’s reading and the standard value is within the acceptable range, with a smooth linear progression.
4. Key Considerations
Zero Point Calibration First: Full scale calibration should only be done after the zero point is accurate. If the zero point is incorrect, it will compound errors across the entire range, rendering the calibration ineffective.
Avoid Frequent Calibration: Mass flow meters are highly stable, and regular calibration is usually recommended every 6-12 months under normal use. However, recalibration is necessary after severe vibration, rapid temperature changes, or maintenance.
Special Medium Handling:
Corrosive Mediums: Use compatible standard equipment (e.g., PTFE-lined pipes) during calibration to avoid corrosion affecting standard readings.
High Viscosity Mediums: Ensure that no residual medium remains in the pipe to prevent blockage or flow instability before calibration.
Professional Calibration: For critical applications (e.g., trade settlements), calibration should be carried out by an accredited metrology institute, providing a calibration certificate to ensure traceability of the measurements.
By following the above steps, you can effectively eliminate zero point drift and range deviations in a mass flow meter. The key is ensuring “static zero calibration” to eliminate no-flow errors and “dynamic full scale calibration” to ensure linearity across the full measurement range, guaranteeing high-precision mass flow measurements.