Introduction:
The 80G radar level meter is a precision instrument used to measure liquid levels through high-frequency electromagnetic waves. Incorrect installation can lead to inaccurate measurements, damage to the device, or failure. This guide provides a comprehensive, step-by-step installation process, covering everything from preparation to sealing and wiring. By following this practical guide, even beginners can successfully install the radar level meter without running into common issues.
Key Considerations Before Installation:
1. Safety First:
Before starting any installation, ensure the worksite is safe:
Chemical and Petroleum Environments: For explosive atmospheres (e.g., chemical plants, fuel storage tanks), wear anti-static work clothes, use insulated gloves, and ensure tools are explosion-proof.
High Altitude Work: If installing at height (e.g., tank tops), wear a safety harness, secure scaffolding, and set up a safety zone below.
Pre-installation Checks: Confirm with the production department whether tanks are empty, if there are any residual flammable materials, and whether pressure needs to be released before installation.
2. Tools and Materials:
Prepare all necessary tools and materials to avoid delays:
Core Tools: Wrenches, level gauges (0.02mm/m accuracy), steel tape measures, and screwdrivers.
Auxiliary Materials: PTFE gaskets, stainless steel or Hastelloy bolts, waterproof tape, and grounding wire.
Protective Gear: Anti-static gloves, hard hats, safety belts, and safety goggles.
Special Tools: For large-diameter antennas, use lifting straps to avoid damage.
3. Equipment and Site Inspection:
Check the equipment and the site before installation:
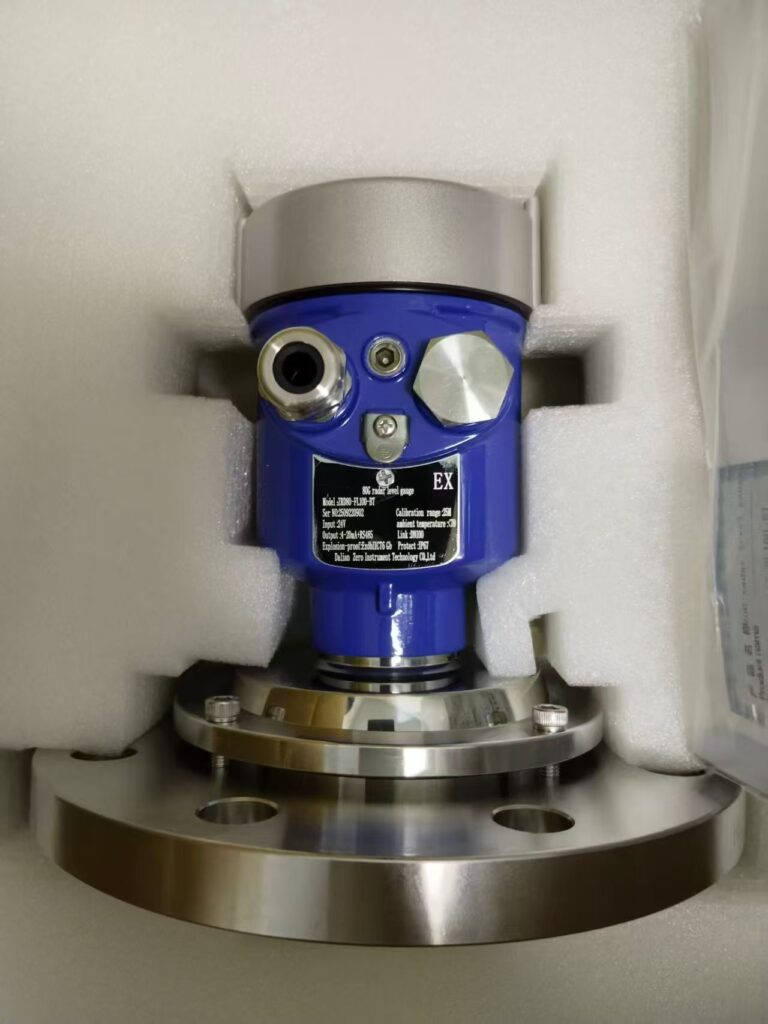
Inspect the radar meter for damage, verify the model against the order, and perform a trial run to ensure the device functions correctly.
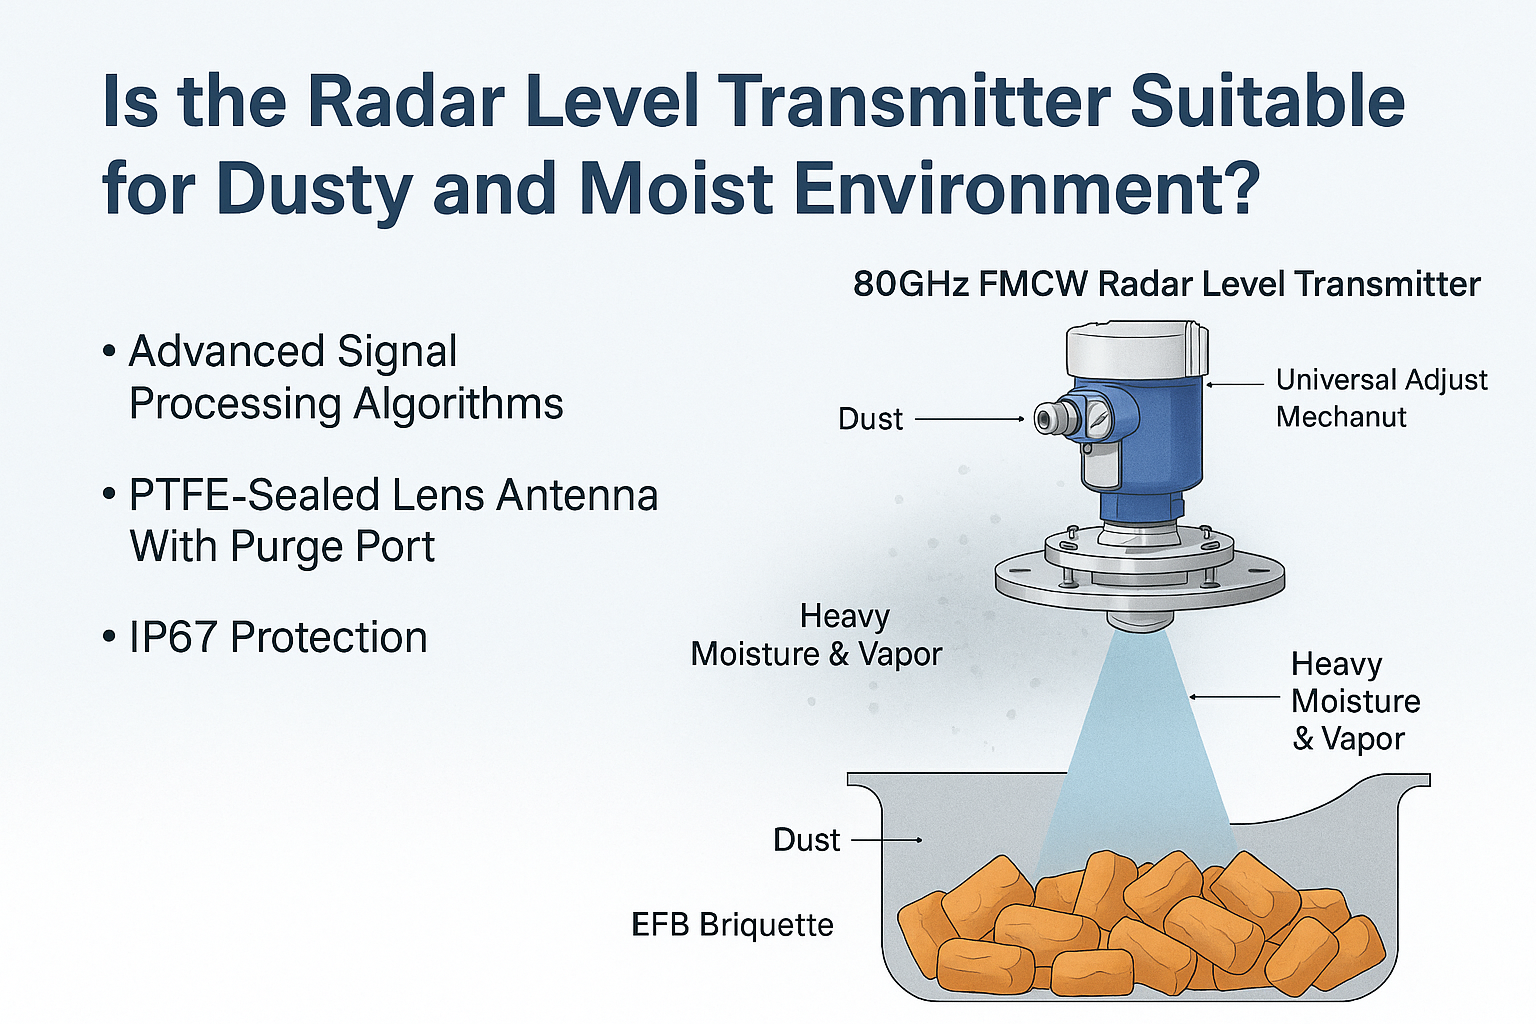
Examine the tank interface (flanges) for cleanliness and smoothness; rusty areas should be cleaned to avoid leaks.
Ensure there are no obstructions (e.g., internal brackets or mixers) and check for external interference sources (e.g., large frequency inverters).
Core Installation Steps:
1. Site Selection:
The location of the radar meter is critical for accurate measurements. Avoid common mistakes like:
Avoid Interference Sources: Do not install near tank inlets, outlets, or the center of the tank where signals may be reflected or distorted.
Required Distance from Tank Walls and Obstacles: Install the antenna at least 1 meter away from the tank wall and 0.3 meters above the maximum liquid level to avoid interference.
2. Mounting the Flange:
Flange installation is the most common method:
Seal Gaskets Properly: Place the PTFE gasket correctly in the flange slot to avoid leaks.
Proper Lifting and Alignment: Use lifting straps for larger antennas. Carefully align the antenna with the flange bolt holes to prevent damage.
Tighten Bolts in Sequence: Follow a diagonal tightening pattern in three stages to ensure proper sealing without over-tightening, which may deform the flange.
3. Wiring and Connections:
Follow proper wiring procedures:
Disconnect Power Before Wiring: Ensure the power supply is off, and all communication lines are disconnected before making connections.
Correct Wiring: Carefully follow the wiring diagrams to connect the power and communication cables. Ensure the ground connection is secure to avoid electrical interference.
4. Sealing and Corrosion Prevention:
Proper sealing ensures a longer device life:
Normal Conditions: For general environments, install the sealing ring carefully and apply silicone sealant around flange bolt holes to prevent leaks.
Harsh Environments: In corrosive environments, use corrosion-resistant materials (e.g., Hastelloy flanges) and apply corrosion-resistant coatings to exposed areas.
Post-Installation Checks:
1. Visual Inspection:
Ensure the antenna is properly aligned and vertically positioned.
Verify that the flange connections are tight and leak-free.
2. Power On Test:
Confirm that the device powers on correctly and that the display screen shows the correct initialization message.
Use a signal tester to ensure that the radar meter is communicating with the control system and reading the correct liquid levels.
3. Stability Test:
Perform a continuous observation of the liquid level for at least 1 hour to ensure that the measurements are stable within an acceptable margin of error (e.g., ±1mm).
Test for interference by turning on nearby equipment, such as motors or inverters, to ensure that the radar meter remains unaffected.
Common Installation Mistakes to Avoid:
Incorrect Flange Alignment: Ensure the flanges are perfectly aligned before tightening to avoid damaging the sealing gasket.
Ignoring Vertical Alignment: Use a level gauge both horizontally and vertically to ensure the antenna is aligned correctly.
Exposed Copper Wires: Do not leave excess copper exposed when making electrical connections; this can cause short circuits and damage the device.
Improper Grounding: Ensure that grounding is done properly to prevent interference and improve signal stability.
Sealant Application Errors: Never apply sealant directly to the gasket, as this may compromise its sealing ability.
Skipping Stability Testing: Always perform both empty and full tank tests to ensure measurement stability before putting the device into service.
Conclusion:
Installing the 80G radar level meter requires careful attention to detail and a systematic approach. By following this guide, beginners can avoid common pitfalls and ensure that their radar level meter operates with high precision and reliability. Always prioritize safety, use the correct tools, and carefully follow each step to achieve optimal installation results.