In industrial measurement and quality control, instrument calibration is critical to ensuring measurement accuracy and equipment reliability. However, different calibration stages are applied depending on the instrument’s lifecycle and usage conditions. These stages include initial calibration, subsequent calibration, and in-use calibration. This article explains the key differences between them and their respective roles in a comprehensive metrology strategy.
1. Initial Calibration
Initial calibration refers to the first calibration performed on a newly acquired instrument. The primary objective is to verify whether the instrument meets the required specifications and compliance standards before being placed into service.
This type of calibration is typically carried out:
After factory delivery but before field commissioning
As part of the instrument acceptance process
To establish a baseline performance record
Example: When a company purchases a batch of temperature transmitters, each unit must be calibrated to confirm that its readings comply with accuracy standards before it is used in process control.

2. Subsequent Calibration
Subsequent calibration is conducted after the initial calibration, within a defined calibration interval (e.g., every 6 or 12 months). Its purpose is to ensure that the instrument continues to perform within acceptable tolerances during regular use.
Key features:
Scheduled based on calibration intervals defined by standards, manufacturer recommendations, or risk analysis
Results are compared to prior calibration records to monitor performance trends
Helps identify potential degradation or drift in measurement accuracy
Subsequent calibration is the most commonly practiced form in industrial settings and forms the backbone of routine maintenance and quality assurance programs.
3. In-Use Calibration (Interim Calibration)
In-use calibration, also referred to as interim calibration, is performed between scheduled calibration cycles. This is usually prompted by a specific concern, such as:
Suspicion of data anomalies
Physical shock or damage to the instrument
Doubt regarding the validity of a calibration certificate
Its objective is to validate whether the instrument’s performance remains within specification and to detect any deviations that might compromise measurement integrity.
Example Scenario:
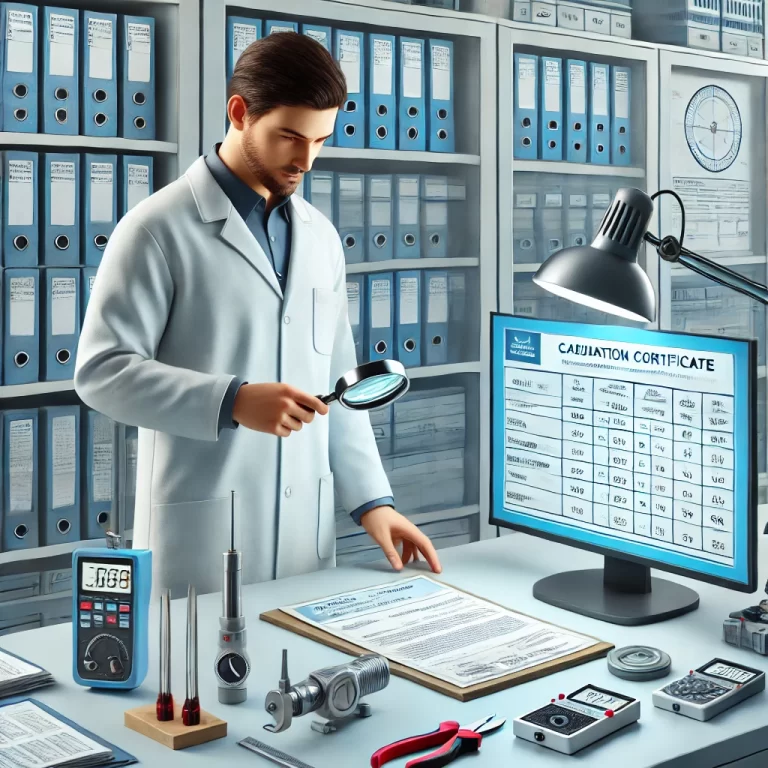
A company receives a calibration certificate for a high-precision humidity sensor. The certificate includes dozens of data sets, yet the calibration duration is suspiciously short (e.g., completed within a single day). This raises concerns about possible data fabrication or shortcuts in the procedure. To ensure data integrity, the company initiates an in-use calibration through a different accredited lab to verify the results.

Why These Distinctions Matter
Understanding these calibration stages is essential for:
Ensuring compliance with ISO/IEC 17025 and industry-specific quality systems
Maintaining the traceability of measurement results
Minimizing process downtime caused by faulty instruments
Supporting audits, certifications, and regulatory inspections
Recommendations for Industrial Facilities
To establish an effective calibration program:
Document Initial Calibration results to serve as performance baselines.
Schedule Regular Subsequent Calibrations based on risk and criticality of the measurement points.
Conduct In-Use Calibrations when irregularities are observed or data validity is questioned.
Choose Accredited Calibration Providers to ensure traceable and valid results.
Keep Calibration Records Digitally for traceability, comparison, and compliance audits.
