Calibrating your pH meter is an essential step to ensure accurate and reliable measurement results. By properly calibrating your pH meter, you can improve the precision of readings, which is crucial for various applications in laboratories, industrial processes, and environmental monitoring. Below is a step-by-step guide to calibrating a pH meter:
1. Preparation
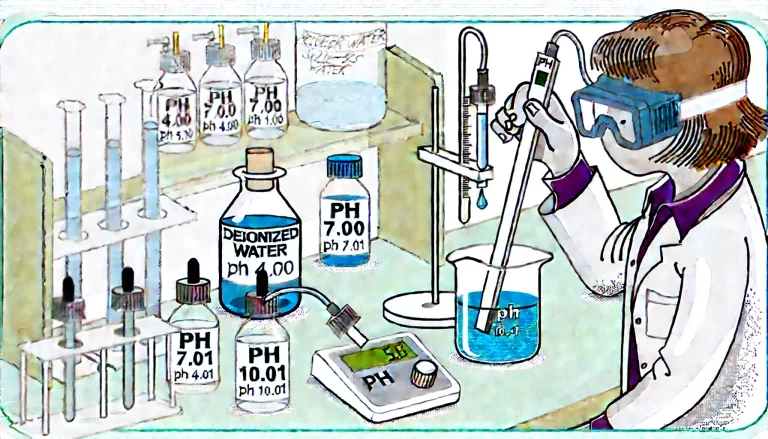
- Clean the Electrode: Before starting the calibration process, rinse the pH meter’s electrode with deionized water to remove any contaminants or residue that could affect the accuracy of your readings. Gently blot the electrode dry with a clean, lint-free tissue.
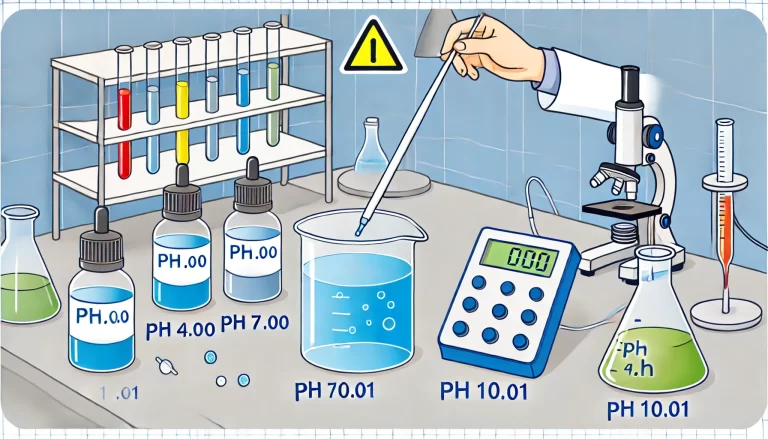
- Prepare Calibration Solutions: You will need two or three standard buffer solutions for the calibration process. Commonly used solutions are pH 4.01, pH 7.00, and pH 10.01. Make sure that the buffer solutions are within their expiration dates and free from contamination. Also, ensure that the solutions are at room temperature, as temperature differences can affect the pH readings.
2. Calibration Procedure
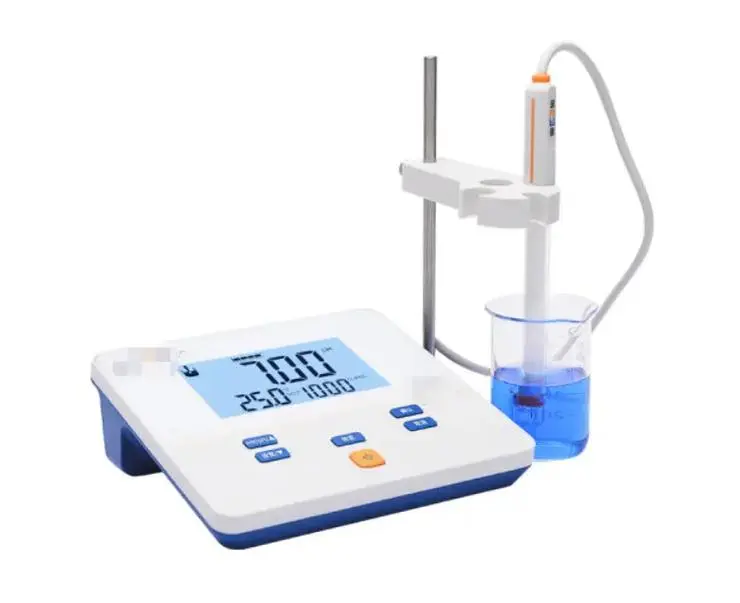
- Turn On the pH Meter: Follow the manufacturer’s instructions to turn on the pH meter and ensure that the electrode is correctly installed.
- Select Calibration Mode: Most pH meters have a specific “Calibration” or “Calibrate” mode, which you will need to activate to begin the calibration process.
Step 1: First Point Calibration (pH 7.00)
- Immerse the electrode into the pH 7.00 buffer solution. Ensure that the electrode is fully submerged in the solution to get accurate readings.
- Wait for the reading to stabilize, which may take anywhere from a few seconds to a minute.
- Once the reading has stabilized and is close to 7.00, press the “Confirm” or “Enter” button to store this calibration point.
Step 2: Second Point Calibration (pH 4.01 or pH 10.01)
- Clean the electrode thoroughly with deionized water, and gently blot it dry with a clean tissue.
- Immerse the electrode into the second buffer solution, either pH 4.01 or pH 10.01, depending on the expected range of your measurements.
- Wait for the reading to stabilize and ensure that it is close to the expected pH value (4.01 or 10.01).
- Press the “Confirm” or “Enter” button to store this calibration point.
Step 3: Third Point Calibration (Optional)
- For more precise measurements, especially if your pH meter is used for highly sensitive applications, you can perform a third-point calibration.
- Use a third buffer solution (for example, pH 4.01, pH 7.00, or pH 10.01, depending on the initial calibration range).
- Clean the electrode with deionized water, immerse it in the third buffer solution, and wait for the reading to stabilize before storing the calibration point.
3. Calibration Completion
- Exit Calibration Mode: After all the necessary calibration points have been saved, exit the calibration mode and switch the pH meter to the measurement mode.
- Check Calibration Results: Review the pH meter’s display to ensure that the calibration was successful. Some meters may display the deviation or error at each calibration point, so verify that the deviations are within an acceptable range (usually ±0.1 pH).
4. Measurement and Storage
- Measure Sample pH: Once the calibration is complete, you can begin measuring the pH of your sample. Be sure to rinse the electrode with deionized water between measurements to avoid contamination and ensure accurate results.
- Store the Electrode: After use, clean the electrode with deionized water and store it in an appropriate storage solution, such as a 3M KCl solution, to maintain its sensitivity and prolong its lifespan.
5. Regular Calibration
- Periodic Calibration: The frequency of calibration depends on how often the pH meter is used and the level of accuracy required. It is recommended to calibrate the pH meter at least once a day or before each set of measurements.
- Electrode Replacement: If you notice that the pH readings become unstable or inaccurate even after calibration, it may be necessary to replace the electrode. An aging or damaged electrode can lead to unreliable results.
By following these detailed steps, you can ensure that your pH meter provides accurate and reliable measurements for your experiments, industrial processes, or any other applications requiring precise pH control.