Calibration ensures that instruments and equipment provide accurate and consistent measurements. While professional calibration typically requires specialized tools and expertise, non-professionals can perform basic calibration tasks for routine checks or when high precision is not mandatory. Below is a detailed guide to help non-professionals calibrate instruments and equipment effectively.
1. Understand the Calibration Needs
Before starting, determine the purpose of the calibration:
Measurement Parameter: Identify what the instrument measures (e.g., temperature, pressure, voltage).
Required Accuracy: Establish the acceptable error margin for your application.
Instrument Type: Review the specific type of device and its operational range to ensure it aligns with your calibration approach.
2. Gather Calibration Standards
Use a reliable reference to check and adjust your instrument:
Standard Instruments: Obtain a pre-calibrated, certified reference device (e.g., a standard thermometer, multimeter, or scale).
Known Values: Utilize objects or phenomena with fixed, known properties (e.g., water’s freezing point for temperature calibration).
Certified Weights: For devices like scales, use weights that comply with international standards.
3. Establish a Controlled Environment
External factors can significantly impact calibration accuracy. Ensure:
Stable Temperature and Humidity: Calibrate in an environment free from extreme temperature or humidity changes.
Minimal Vibrations and Noise: Avoid settings with mechanical vibrations or electronic interference, as they may affect sensitive instruments.
Clean Workspace: Keep the area free of dust and debris, especially for optical or sensitive equipment.
4. Check and Adjust Zero Point
Many instruments require their baseline or zero point to be accurate:
Scales and Balances: Ensure the device reads “0” when unloaded. Use the tare function or manual adjustment knob to correct any deviation.
Pressure Gauges: Verify that the pointer aligns with zero under no-pressure conditions. Adjust the needle if it does not.
Electrical Meters: For devices like multimeters, check the zero reading with no input signal and recalibrate if necessary.
5. Use Known Standards for Calibration
Temperature Calibration
Ice Water Bath (0°C):
Fill a container with crushed ice and water.
Insert the thermometer into the mixture, ensuring full contact with the ice-water interface.
The thermometer should read 0°C. If not, adjust the reading or note the deviation.
Boiling Water (100°C):
Boil water at standard atmospheric pressure (101.3 kPa).
Place the thermometer in the steam above the water, ensuring it does not touch the container.
Verify the reading is 100°C and adjust if necessary.
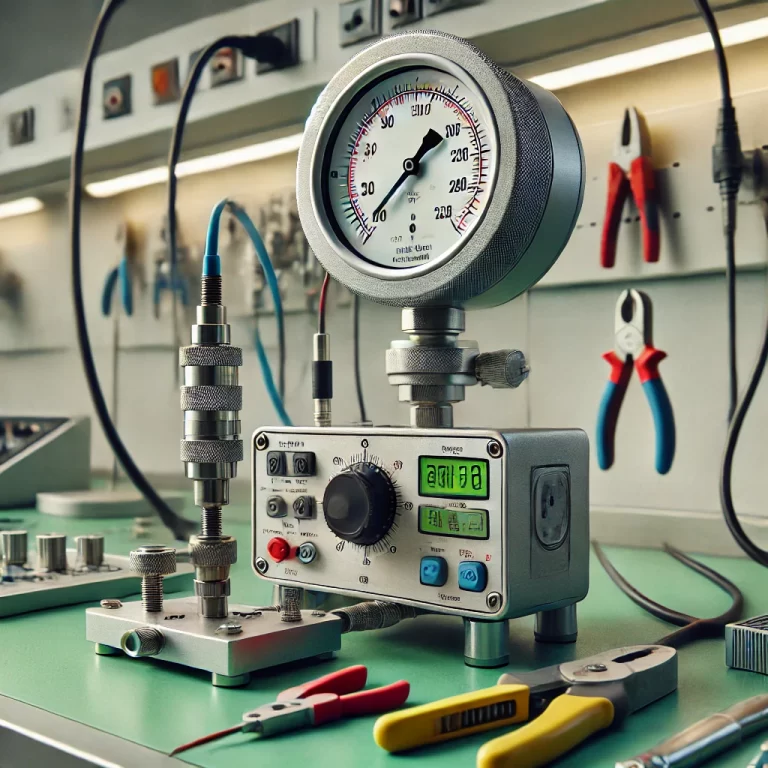
Pressure Gauge Calibration
Use a manual pressure pump with a certified pressure standard.
Apply known pressure values (e.g., 0%, 50%, and 100% of the gauge’s range).
Compare the gauge reading to the standard.
Adjust the gauge’s calibration knob or record the deviation for manual corrections.
Electrical Instrument Calibration
Connect the instrument to a standard voltage or current source (e.g., a calibrated signal generator).
Apply various known input values across the instrument’s range.
Check the output readings and adjust calibration settings as needed.
Weight Calibration
Use certified weights matching the scale’s capacity.
Place the weight on the scale and verify the reading.
Adjust the scale’s calibration controls if there’s a discrepancy.
6. Perform Multi-Point Calibration
For better accuracy, test the instrument at multiple points across its range:
Three-Point Check: Test at the low, mid, and high ends of the range.
Linear Adjustment: For deviations, adjust the device to minimize errors across all points, not just one.
7. Record Calibration Data
Keep detailed records of the calibration process:
Date and Time: Note when the calibration was performed.
Conditions: Record environmental factors like temperature and humidity.
Standards Used: List the reference instruments or methods employed.
Deviations: Document any discrepancies and corrective actions.
8. Regular Maintenance
Ensure the instrument remains reliable by:
Frequent Calibration: Perform checks at regular intervals, depending on usage frequency and criticality.
Preventive Care: Clean and store the instrument properly to avoid wear and damage.
9. Recognize Limitations
Non-professional calibration methods are suitable for routine checks or low-precision applications. For high-precision needs:
Seek Professional Services: Send the instrument to a certified calibration lab.
Accredited Standards: Ensure the lab complies with recognized standards (e.g., ISO/IEC 17025).
10. Use Manufacturer Instructions
Most instruments come with a user manual that outlines specific calibration procedures. Follow these instructions for the best results, especially if the device has built-in calibration features.
11. Tools and Apps for Calibration
Calibration Kits: Some devices include kits with necessary tools and accessories.
Mobile Apps: For certain tasks (e.g., leveling), apps can serve as basic calibration aids.
Conclusion
While professional calibration ensures the highest level of accuracy, non-professionals can achieve reasonable results by following systematic procedures, using reliable standards, and maintaining a controlled environment. For critical instruments, always seek professional calibration to meet precision and compliance requirements.