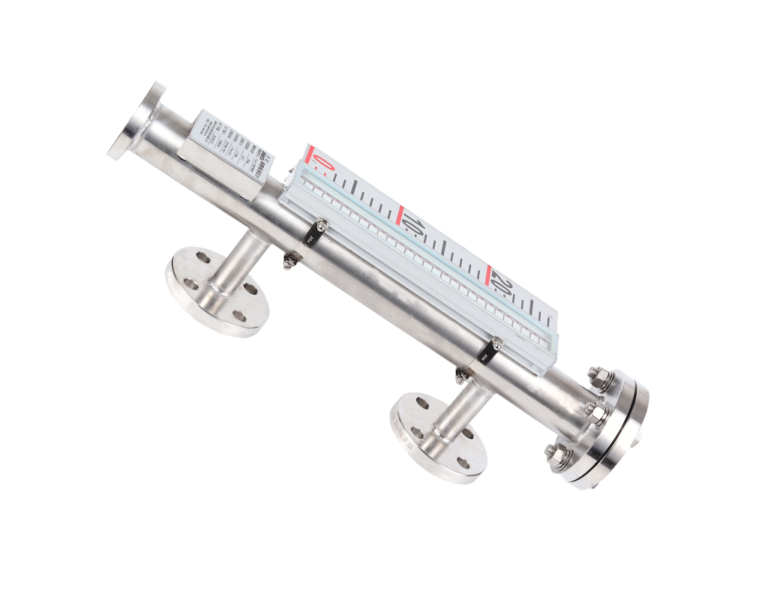
Magnetic level gauges are widely used for measuring and monitoring liquid levels in various industries due to their reliability and simplicity. However, regular calibration is essential to ensure accurate readings and prevent potential errors in critical processes. This guide provides a detailed step-by-step procedure for performing in-field calibration of magnetic level gauges.
Pre-Calibration Preparation
Required Tools and Materials:
- Measuring tape or steel ruler for accurate liquid height measurement.
- Standard liquid (such as water or another known-density liquid).
- Valve keys or wrenches to control the liquid flow.
- Calibration record sheet to log results.
- Personal protective equipment (PPE) such as gloves and safety glasses.
System Inspection:
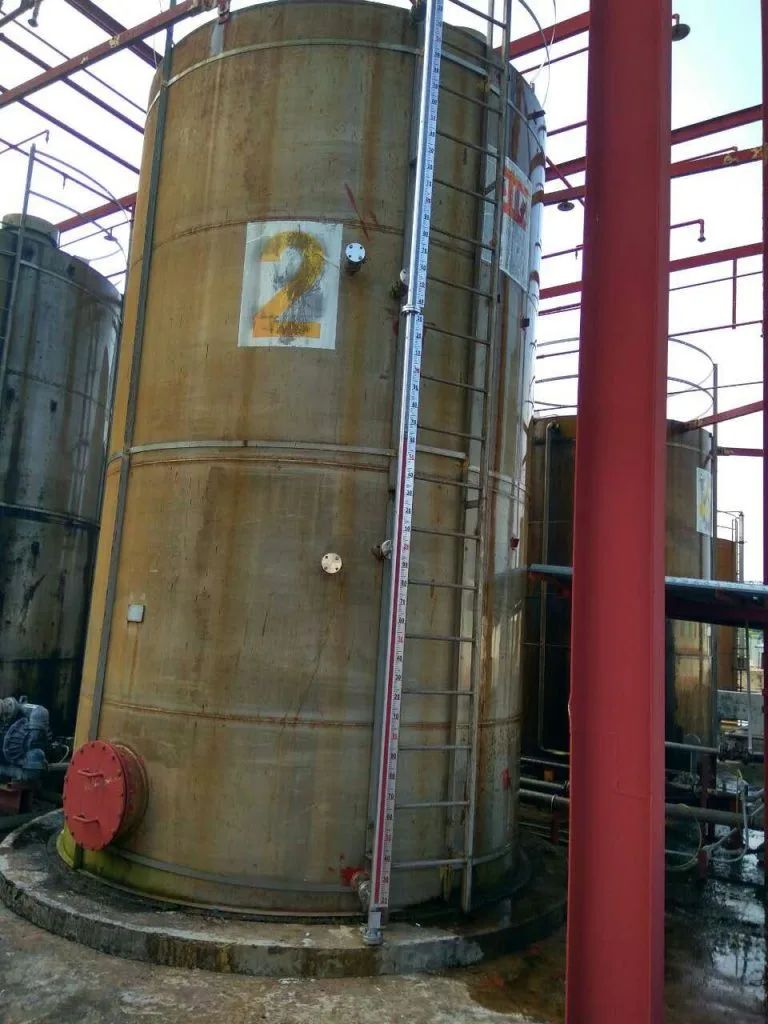
- Verify that the magnetic level gauge is installed vertically and is free from mechanical damage.
- Ensure there are no visible leaks or blockages in the float chamber.
- Confirm that all valves between the vessel and the magnetic gauge are properly opened.
- Verify the working environment conditions (pressure, temperature) are within the operating limits of the gauge and liquid.
Environmental Safety Check:
- Follow safety protocols for handling liquids under pressure or hazardous substances.
- Ensure that you have emergency procedures ready if dealing with volatile chemicals.

Step-by-Step Calibration Procedure
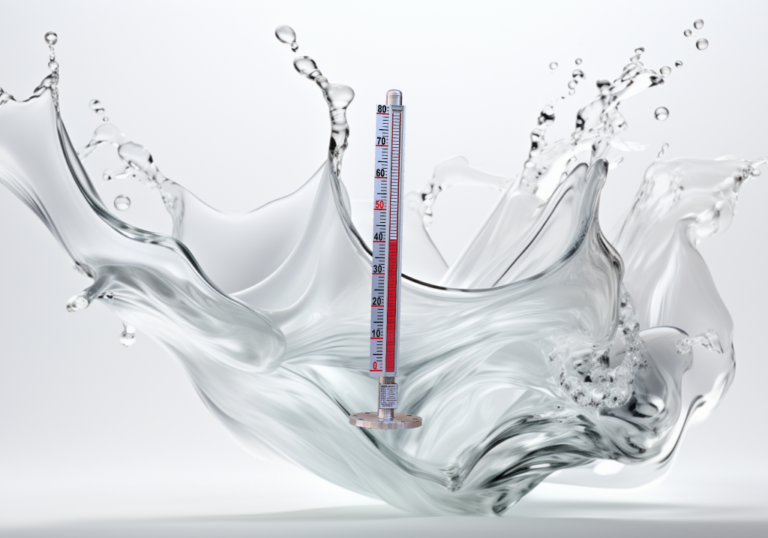
1. Zero-Level Check
- Objective: Verify that the magnetic gauge correctly reads the lowest liquid level (zero level).
- Process:
- Fully drain the tank to ensure there is no liquid in the system.
- Observe the magnetic indicator strip on the gauge and check if the zero mark aligns with the actual empty level.
- If there is a mismatch, manually adjust the zero-point marker by sliding the indicator into the correct position.
2. Incremental Calibration at Defined Levels
- Objective: Validate the accuracy of the gauge across multiple levels (25%, 50%, 75%, 100%).
- Process:
- Slowly fill the tank with liquid in small, defined increments (e.g., up to 25% of the full level).
- At each increment, measure the actual liquid height using a tape or ruler.
- Log the indicated level on the magnetic strip against the measured value on the calibration sheet.
- Repeat this process at 50%, 75%, and 100% of the tank’s full capacity.
- Ensure the magnetic indicator moves smoothly without sticking.
3. Record Deviations and Make Adjustments
- Objective: Identify and correct any discrepancies between the actual and indicated values.
- Process:
- Compare the measured liquid height with the value indicated on the magnetic level gauge.
- If the deviation exceeds the acceptable tolerance, note the difference on the calibration sheet.
- Inspect the float for signs of damage, blockages, or magnetic degradation if discrepancies occur.
- If necessary, recalibrate the float or adjust the gauge according to the manual.
4. Full-Scale Range Test
- Objective: Ensure the gauge can accurately measure the maximum liquid level.
- Process:
- Fill the tank to the maximum capacity.
- Verify that the float and magnetic indicator move freely to the top of the gauge.
- Check for smooth operation and proper alignment of the indicators.
Dealing with Calibration Challenges
Sticky Float or Indicator:
If the indicator sticks during operation, inspect the float chamber for debris, corrosion, or damage. Clean or replace components as needed.Incorrect Readings for Viscous Liquids:
Some floats may not function accurately with liquids of high viscosity or varying density. Ensure the float is suitable for the liquid in use. If the density changes, adjust the calibration accordingly.Magnetic Coupling Loss:
If the indicator fails to move with the float, there may be magnetic field weakening. Replace the float if the magnet inside is damaged.
Post-Calibration Procedures and Maintenance
Recordkeeping:
- Document all calibration points and any deviations found during the process.
- Keep a calibration log for future reference and regulatory compliance.
Periodic Calibration:
- Establish a routine calibration schedule (e.g., every 6 to 12 months) depending on the criticality of the application.
Component Maintenance:
- Regularly inspect the float chamber for sediment buildup or corrosion.
- Check the float’s integrity to ensure it remains buoyant and magnetically responsive.
Calibration Verification:
- Perform spot-checks periodically between full calibrations to verify accuracy, especially in demanding applications.

Conclusion
In-field calibration of magnetic level gauges ensures reliable performance, particularly in critical industrial processes. Following the steps outlined above helps to maintain the accuracy of the equipment and detect any issues before they impact operations. Adhering to a regular calibration and maintenance schedule will prolong the life of the gauge and provide dependable liquid level measurements.
By following these detailed procedures, operators can guarantee that the magnetic level gauge remains a valuable and accurate tool in their process instrumentation.