Introduction
Pressure gauges are among the most widely used instruments in industrial applications. Like any measurement device, they require periodic calibration to maintain accuracy and ensure safe, reliable operation. At its core, pressure gauge calibration involves applying a known reference pressure and comparing it with the gauge’s reading. The difference between the applied and indicated pressure is the error — and it should be within the specified accuracy class of the instrument.
Here are 10 essential factors to consider when calibrating a pressure gauge:
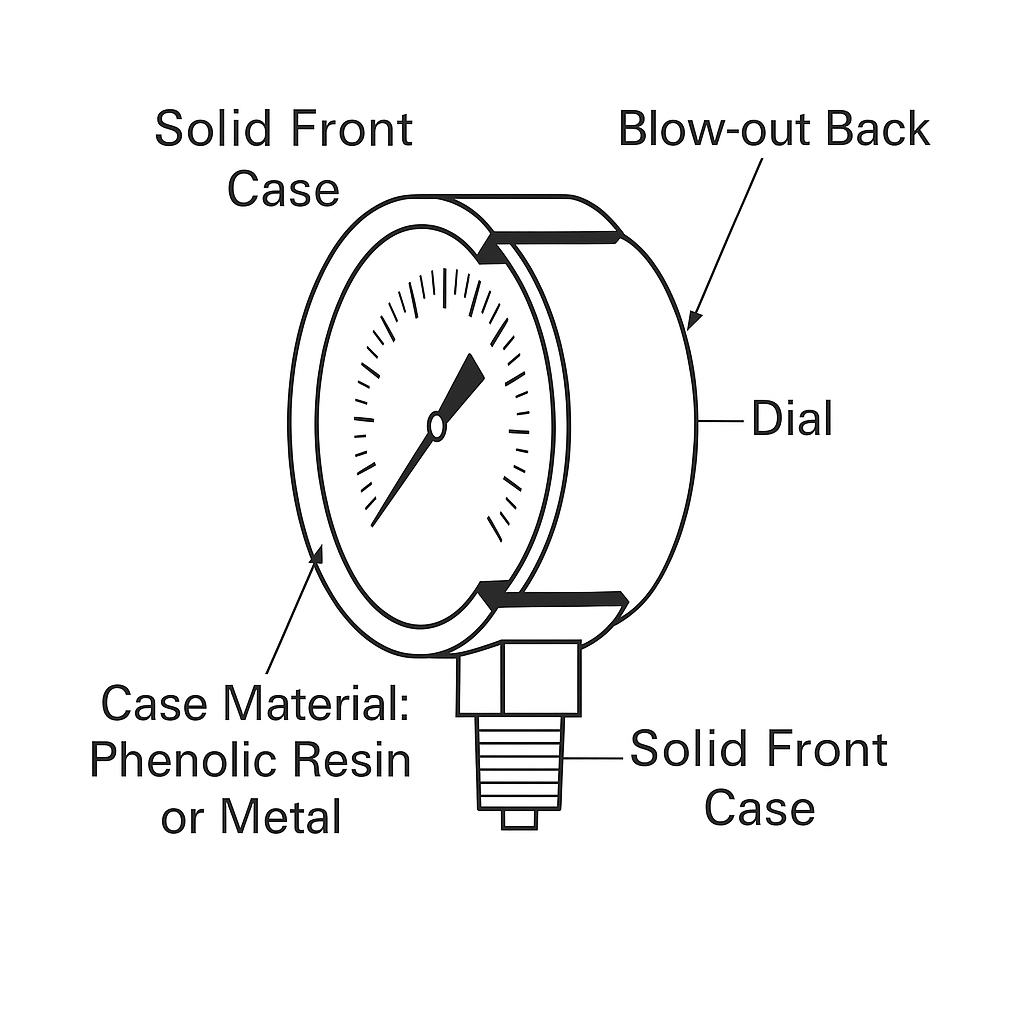
1. Accuracy Class
Pressure gauges are manufactured in various accuracy classes. These are typically defined by:
ASME B40.100: Accuracy ranges from ±0.1% to ±5% of full scale.
EN837: Accuracy ranges from ±0.1% to ±4% of full scale.
An accuracy class of 1% on a 0–100 psi scale means a permissible error of ±1 psi. Knowing the gauge’s accuracy class is critical for choosing the right reference standard and calibration method.
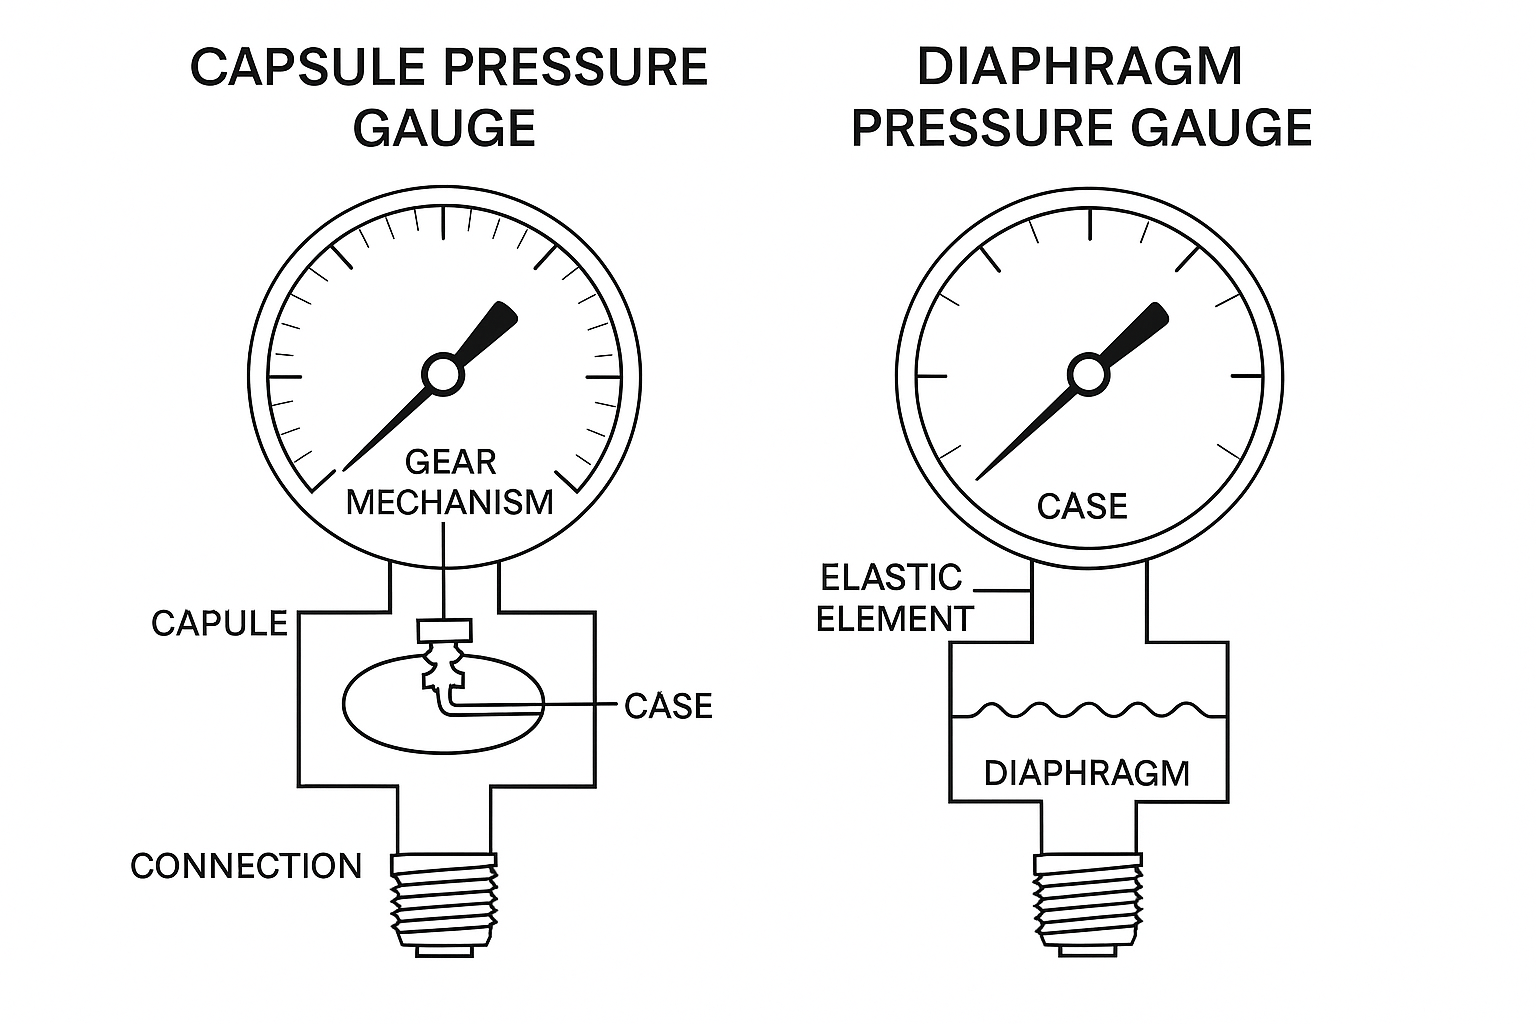
2. Pressure Medium
The calibration medium can be gas (typically air or nitrogen) or liquid (water or oil). The choice depends on:
The medium used in the actual process.
The pressure range:
Gases are more suitable for low pressures.
Liquids are preferred at higher pressures due to safety and stability.
3. Contamination Risks
If the gauge has been exposed to process media (especially corrosive or toxic fluids), internal contamination can be transferred to calibration devices. Prior to calibration:
Use dirt/moisture traps for pneumatic devices.
Thoroughly clean gauges used with liquids.
For oxygen pressure gauges, ensure a completely oil-free setup to prevent explosions.
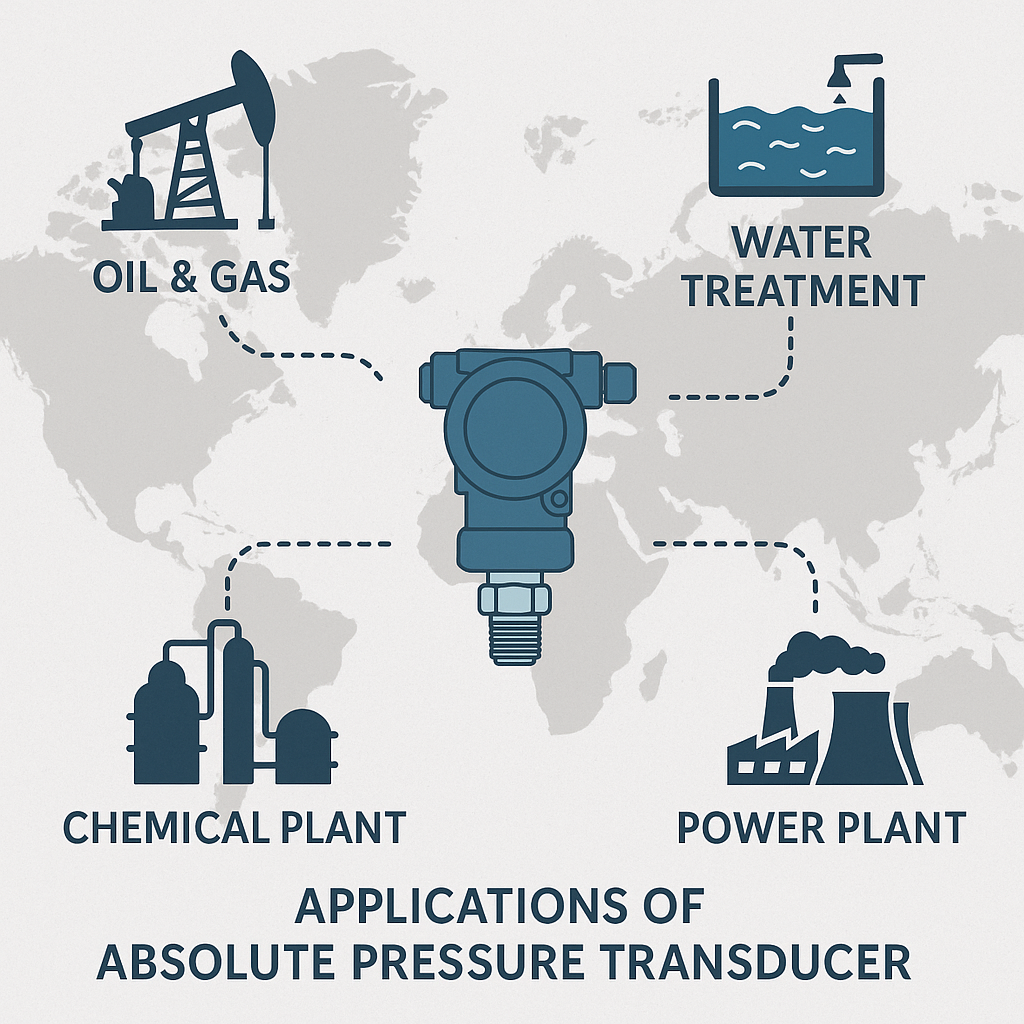
4. Height Difference (Hydrostatic Head)
If the gauge and calibration device are at different elevations, a hydrostatic pressure difference can occur, especially when using a liquid medium. The pressure error is calculated as:
ΔP=ρ⋅g⋅h
Where:
ρ = fluid density
g = gravity
h = height difference
This effect is negligible for gases but must be compensated for when using liquids.
5. Leak Testing
Leaks in the system during calibration can result in unpredictable pressure errors. Before calibration:
Pressurize the system and observe if the pressure holds.
For pressure controllers, temporarily close the control loop to identify leaks.
When using gas, account for adiabatic effects (see point 9) that may mimic pressure drops.
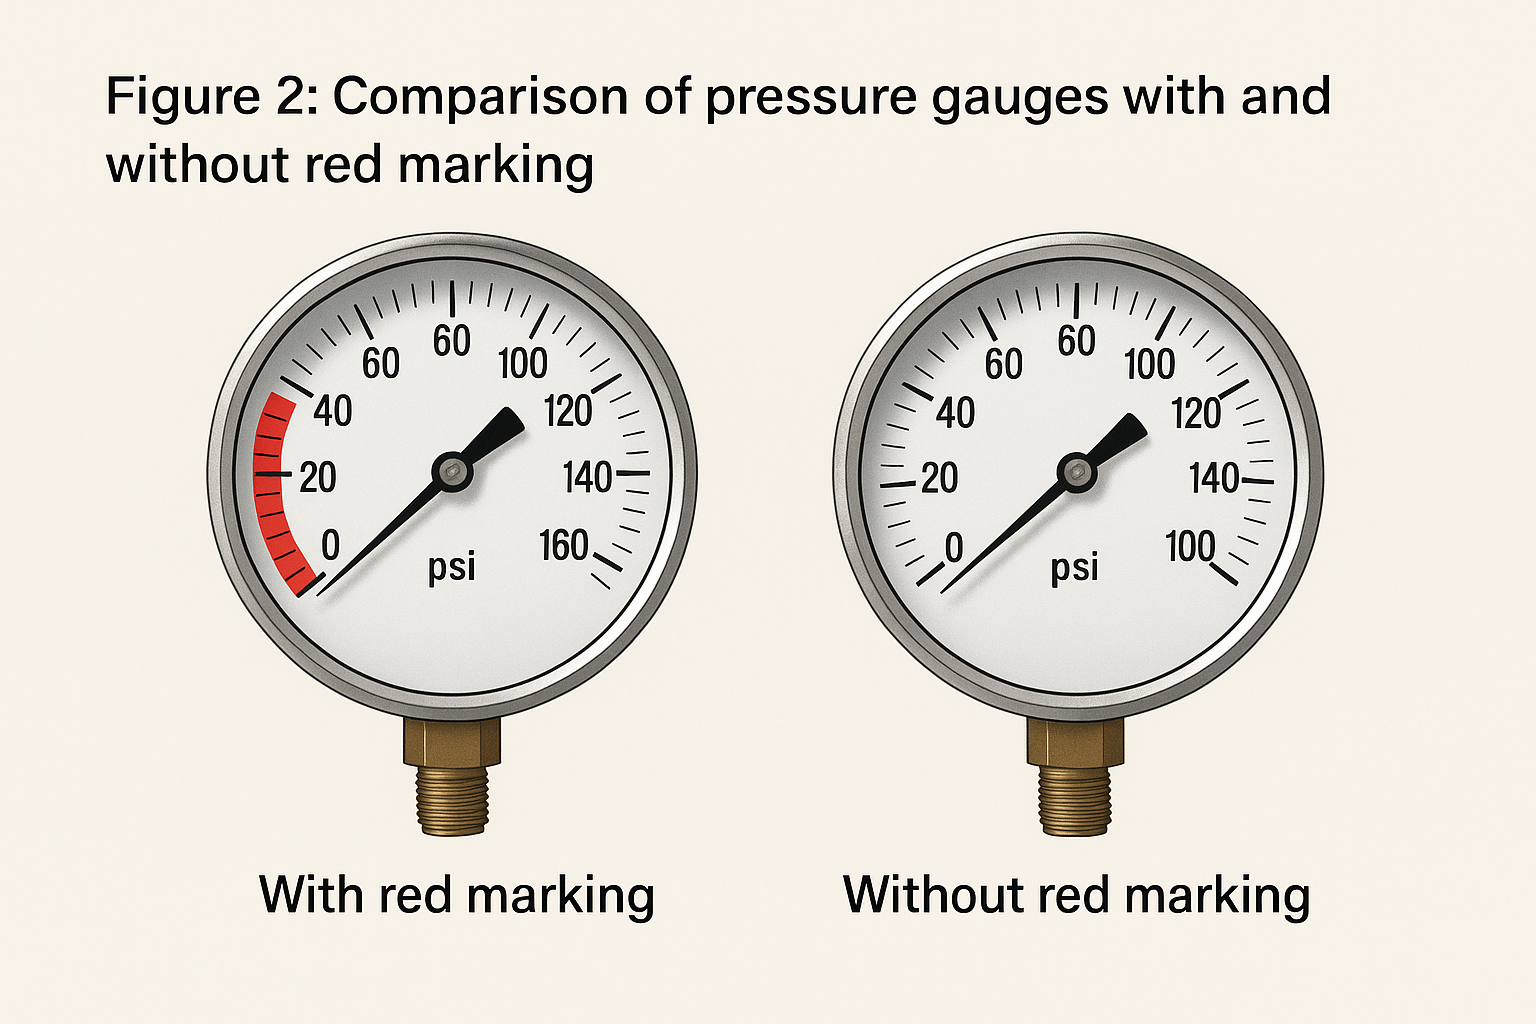
6. Mounting and Positioning
Mechanical pressure gauges are position-sensitive. Calibrate the gauge in the same orientation as in actual use. Manufacturers typically specify:
Position variation of ±5° should not cause pointer deviation more than half of the gauge accuracy.
7. Pressure Generation Method
Several methods are used to apply pressure during calibration:
Manual pressure pumps (portable and common)
Bottle-fed pressure regulators (for gas)
Deadweight testers (high accuracy, less portable)
Deadweight testers don’t require a reference gauge, but they are expensive and require careful handling and clean media.
8. Exercising the Gauge
Mechanical gauges may become “stiff” if unused for a long time. Pre-conditioning or “exercising” involves:
Applying full-scale pressure and holding for 1 minute.
Releasing pressure and resting for another minute.
Repeating the cycle 2–3 times before calibration.
This helps stabilize internal mechanical parts and improves repeatability.

9. Adiabatic Effects
In closed systems using gas, sudden pressure changes can cause adiabatic heating/cooling, leading to temporary pressure deviations:
Rapid pressurization increases temperature → pressure spikes.
As temperature normalizes, pressure drops may mimic leaks.
Allow pressure to stabilize before recording readings or judging leaks.
10. Torque on Fittings
Over-tightening fittings can damage the gauge — especially those sensitive to mechanical strain. Follow manufacturer recommendations for:
Maximum torque values
Use of proper adapters and sealing materials
Using the right tools and techniques minimizes damage risk during setup.

Conclusion
Pressure gauge calibration is not just about applying pressure and reading values — it requires comprehensive awareness of physical, mechanical, and environmental factors. By following these 10 considerations, you can ensure high-accuracy, repeatable, and safe calibration processes across a wide range of industrial applications.
